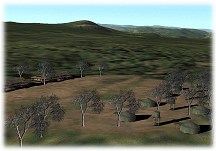
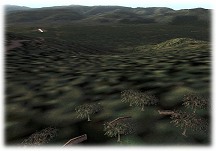
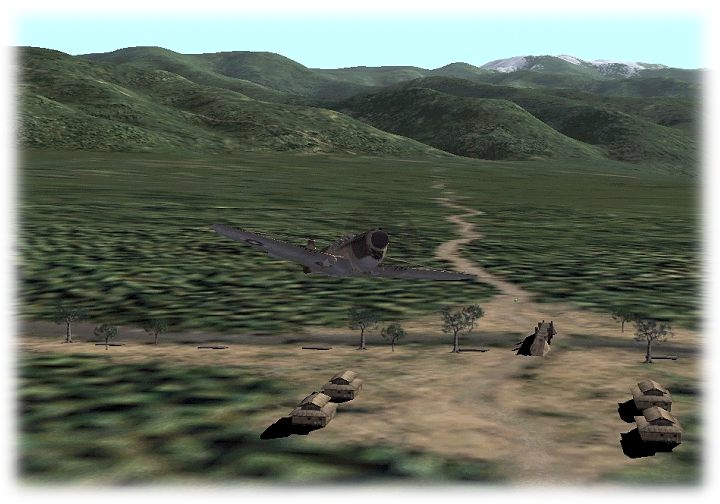
- The Scenery from Port Moresby
to Buna
- Prior to July, 1942 the Kokoda Track was a seldom used path
which climbed from the small village of Buna on the North coast
of Papua, over the Owen Stanleys and on to Port Moresby. A distance
of 83 miles as the crow flies, the path became a winding tortuous
trek of 100+ miles as one progressed through the Owen Stanleys.
-
- After the failure of the Japanese Coral Sea Campaign this
route was chosen by the Japanese as the next best overland route
to Port Moresby.They were under the mistaken impression that,
given enough determination and pluck, the track could be developed
for vehicular traffic carrying men and supplies into Port Moreby
and beyond. They lacked neither determination or pluck- but they
were short on good intelligence and good maps. The track was
just barely suitable, in some places, for foot traffic, period.
The utter inhospitableness of the terrain make the accomplishments
of both sides along the Kokoda Track all the more remarkable.
-
- When all was said and done, the Australian units in this
sector sustained over 1,400 battle casualties and the Americans
700. Nearly 2,000 Japanese were buried. The Japanese employed
about 20,000 troops of whom more than 13,000 died.
-
- From Buna the track rose up easy slopes through the villages
of Gorari and Oivi to the village of Kokoda. Kokoda stands on
a plateau 400 meters above sea level. From Kokoda the track rises
precipitously through the outposts of Deniki, Isurava, Kagi,
Ilolo and on to what would become Ower's Corner where it met
with the motor road which lead from plantations in the hills
NE of Port Moresby and then down to the coast.
|
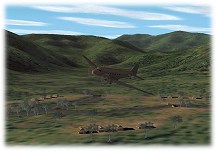
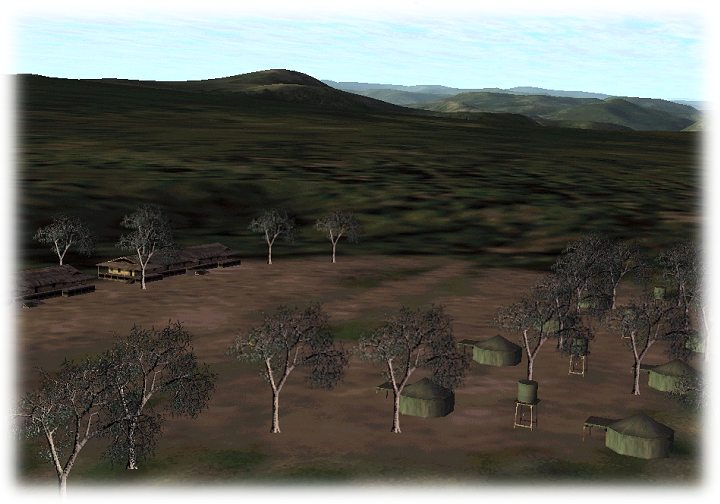
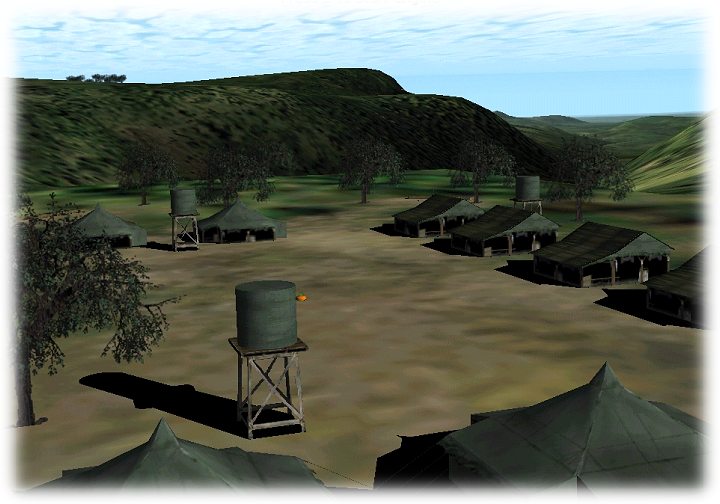
McDonald’s Corner & Ilolo Village
 In
July and August 1942 McDonald’s Corner was recognized
as the beginning of the Kokoda Track. This was where the plantation
road came to an end and slogging it by foot began. Nearby was
the village of Ilolo ( left ), and it was here in July
1942 that groups of native carriers, needed to support the Australian
advance into the mountains, were brought together. Later as the
campaign progressed Ilolo became a major rest, refit and recuperation
area for troops returning from duty on the Kokoda Track. In
July and August 1942 McDonald’s Corner was recognized
as the beginning of the Kokoda Track. This was where the plantation
road came to an end and slogging it by foot began. Nearby was
the village of Ilolo ( left ), and it was here in July
1942 that groups of native carriers, needed to support the Australian
advance into the mountains, were brought together. Later as the
campaign progressed Ilolo became a major rest, refit and recuperation
area for troops returning from duty on the Kokoda Track.
- It was from Ilolo that Lieutenant Kienzle, of the Australian
and New Guinea Administrative Unit and the carriers set out to
establish staging camps along the Kokoda Track. Staging camps
were established at approximately 16 kilometer intervals, which
meant that theoretically it would take about eight days to cross
the mountains to Kokoda.
|
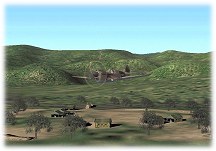
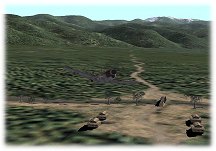
Ower's Corner & Uberi Village
 Ower's Corner
( left )- this was the end of the jeep track to the track.
From here on the Kokoda Track was a very badly maintained hiking
path. Late in August 1942, Lieutenant N.Owers, with a small survey
party, was looking for an alternative route forward of Ilolo
Village by which the troops on the Kokoda Track might more easily
be supplied. The jeep track only ever reached as far as the point
which became known as Owers’ Corner, and then gave way to
a foot track which wound down a steep slope towards Ower's Corner
( left )- this was the end of the jeep track to the track.
From here on the Kokoda Track was a very badly maintained hiking
path. Late in August 1942, Lieutenant N.Owers, with a small survey
party, was looking for an alternative route forward of Ilolo
Village by which the troops on the Kokoda Track might more easily
be supplied. The jeep track only ever reached as far as the point
which became known as Owers’ Corner, and then gave way to
a foot track which wound down a steep slope towards  Uberi Village
( right ), which became the first of 8 staging outposts along
the track set up approximately 16 km, or a days march apart.
During the month of September 1942 two 25 pounder field guns
of the 14th Australian Field Regiment were brought forward to
Owers’ Corner. Here they were manhandled into firing positions
from which they played a key role in driving the Japanese from
Ioribaiwa Ridge- out of sight- a scant 5 1/2 miles away! This
close up view of Ower's Corner looks ENE toward the valley location
of Uberi Village. This Uberi Village view looks back up the slope
to Ower's Corner- visible at upper left. Uberi Village
( right ), which became the first of 8 staging outposts along
the track set up approximately 16 km, or a days march apart.
During the month of September 1942 two 25 pounder field guns
of the 14th Australian Field Regiment were brought forward to
Owers’ Corner. Here they were manhandled into firing positions
from which they played a key role in driving the Japanese from
Ioribaiwa Ridge- out of sight- a scant 5 1/2 miles away! This
close up view of Ower's Corner looks ENE toward the valley location
of Uberi Village. This Uberi Village view looks back up the slope
to Ower's Corner- visible at upper left. |
-
Imita Ridge & Ioribaiwa Ridge
 Imita
Ridge ( left )- looking ENE to Ioribaiwa Ridge- the furthest
advance of the Japanese toward Port Moresby- 27 miles away as
the crow flies. The valley between the two ridge lines became
a hotly disputed no mans land until the exhausted Japanese were
finally forced to withdraw from Ioribaiwa Ridge. Imita
Ridge ( left )- looking ENE to Ioribaiwa Ridge- the furthest
advance of the Japanese toward Port Moresby- 27 miles away as
the crow flies. The valley between the two ridge lines became
a hotly disputed no mans land until the exhausted Japanese were
finally forced to withdraw from Ioribaiwa Ridge.
- Ioribaiwa Ridge ( right )- looking WSW toward Imita
Ridge. By September
 21 the valley
between these 2 ridges had become a no man's land between the
2 forces. Finally, in October 1942, the Japanese withdrew back
toward Kokoda and the the Australian counter offensive got underway.
Interestingly, the only artillery brought to bear by the Australians
during the campaign was brought to bear against the Japanese
entrenchments on Ioribaiwa Ridge. At extreme range, the two artillery
pieces were fired with considerable accuracy from Ower's Corner,
just behind the hill on the right in this view. 21 the valley
between these 2 ridges had become a no man's land between the
2 forces. Finally, in October 1942, the Japanese withdrew back
toward Kokoda and the the Australian counter offensive got underway.
Interestingly, the only artillery brought to bear by the Australians
during the campaign was brought to bear against the Japanese
entrenchments on Ioribaiwa Ridge. At extreme range, the two artillery
pieces were fired with considerable accuracy from Ower's Corner,
just behind the hill on the right in this view.
|
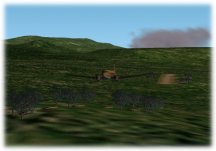
Menari Village, Brigade ( Mission ) Hill, Efogi Village and
Kagi Village
 Menari
Village ( left )- after major engagements down the river
valley connecting Kagi, Efogi and Mission Ridge- this was the
final gathering point of the troops withdrawing from Mission
Ridge. From here on September 11th, the Australians withdrew
to Ioribaiwa, and subsequently to Imita Ridge after being unable
to consolidate a position on Ioribaiwa. Menari
Village ( left )- after major engagements down the river
valley connecting Kagi, Efogi and Mission Ridge- this was the
final gathering point of the troops withdrawing from Mission
Ridge. From here on September 11th, the Australians withdrew
to Ioribaiwa, and subsequently to Imita Ridge after being unable
to consolidate a position on Ioribaiwa.
- Efogi Village ( right )- Efogi was a small village
on the southern slopes of the Owen Stanley Ranges and was the
fourth staging post where many troops stopped overnight as they
advanced over the Kokoda Track. The village, with an altitude
of some 2,000 meters was in a large river valley across which
could be seen the next nights stop at Kagi, a hard days climb
away. Australians
 withdrew through
Efogi to make a stand just south at Mission Ridge- afterwards
called Brigade and Butcher's Ridge. withdrew through
Efogi to make a stand just south at Mission Ridge- afterwards
called Brigade and Butcher's Ridge.
-
- Kagi Village ( left )- Kagi was another small village
on the southern slopes of the Owen Stanleys and was the fifth
staging post for troops transiting the Kokoda Track. It was the
next post NE along the track from Efogi. This view looks SW in
the direction of Efogi which is behind the slope on the right.
|
Myola Dry Lakes Strip & Myola Ridge
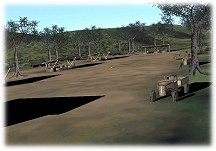
- Myola Dry Lakes Strip- Taking off from Myola Dry Lakes.
On the crest of the Owen Stanley
  Ranges, a few
kilometers east of the main track, there were two dry lake beds.
Realizing the need for a dropping ground for supplies, the Australians
set out to explore this area and in early August 1942 reached
the first dry lake, which was covered with kunai grass. It made
a suitable dropping zone and train actions were put in place
to set up a forward supply depot. The spot was named Myola after
the wife of reconnoitering unit's commanding officer. Ranges, a few
kilometers east of the main track, there were two dry lake beds.
Realizing the need for a dropping ground for supplies, the Australians
set out to explore this area and in early August 1942 reached
the first dry lake, which was covered with kunai grass. It made
a suitable dropping zone and train actions were put in place
to set up a forward supply depot. The spot was named Myola after
the wife of reconnoitering unit's commanding officer.
-
- Myola Ridge- Cresting Myola Ridge ( below left ).
Well dug-in Japanese Troops withdrawing through this
 spot needed to
be cleared from this ridge before the dry lakes could be used
as a resupply and evacuation strip. On 9 October Australian units
moved forward to reconnoiter Myola and on 10 October bivouacked
at Myola dry lake where they prepared another dropping ground.
At nightfall of the 10th a forward patrol reported they had encountered
strong position on a razorback ridge at the crest of the track.
This Ridge would later be known as Myola Ridge. The action to
clear this ridge was very tenacious on both sides as both knew
that control of this position equaled control of the Myola dry
lakes which were needed for the dropping of supplies and establishing
medical bases. The Battle of Myola Ridge resulted in 100 Japanese
killed and a significant but unknown number wounded. Australian
losses were 21 killed and 48 wounded. spot needed to
be cleared from this ridge before the dry lakes could be used
as a resupply and evacuation strip. On 9 October Australian units
moved forward to reconnoiter Myola and on 10 October bivouacked
at Myola dry lake where they prepared another dropping ground.
At nightfall of the 10th a forward patrol reported they had encountered
strong position on a razorback ridge at the crest of the track.
This Ridge would later be known as Myola Ridge. The action to
clear this ridge was very tenacious on both sides as both knew
that control of this position equaled control of the Myola dry
lakes which were needed for the dropping of supplies and establishing
medical bases. The Battle of Myola Ridge resulted in 100 Japanese
killed and a significant but unknown number wounded. Australian
losses were 21 killed and 48 wounded.
|
Templeton's Crossing, Eora Creek, Isurava and Deniki
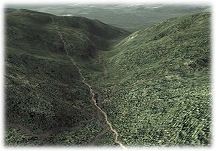 Eora
Creek Gorge ( left )- this view is taken from above the crest
of the Kokoda Track just beyond Myola Ridge and Templeton's Crossing.
Visible down the gorge are Eora creek, around, over and through
which both sides fought tenaciously during the Japanese advance
from Buna and the Australian counter offensive from Port Moresby.
Just Visible over the ridge line at top left is Kokoda Strip.
Just over the crest where the track disappears is the outpost
of Deniki- 3000 feet above the Yodda River Valley floor. Also,
visible along the Eora Creek are Eora Village and Isurava. Eora
Creek Gorge ( left )- this view is taken from above the crest
of the Kokoda Track just beyond Myola Ridge and Templeton's Crossing.
Visible down the gorge are Eora creek, around, over and through
which both sides fought tenaciously during the Japanese advance
from Buna and the Australian counter offensive from Port Moresby.
Just Visible over the ridge line at top left is Kokoda Strip.
Just over the crest where the track disappears is the outpost
of Deniki- 3000 feet above the Yodda River Valley floor. Also,
visible along the Eora Creek are Eora Village and Isurava.
-
-
- Deniki ( right )- Deniki, a small village located
about eight kilometers south of Kokoda, was the
 seventh staging
post on the Kokoda Track. Higher than Kokoda ( by about 3000
feet), it was possible from Deniki to see into the Yodda River
Valley and discern Kokoda strip. It was at Deniki during the
Japanese advance that the Japanese reconnoitering forces halted
and the retreating Australian forces were given a breather to
bring in reinforcements over the track. By the end of August
1942, the initial Japanese forces in front of Deniki had been
reinforced to almost 13,000 men. Faced with these lopsided odds
( the Australians at this point only fielded about 600 troops
), on August 13th the Australians pulled back to stronger positions
at Isurava. seventh staging
post on the Kokoda Track. Higher than Kokoda ( by about 3000
feet), it was possible from Deniki to see into the Yodda River
Valley and discern Kokoda strip. It was at Deniki during the
Japanese advance that the Japanese reconnoitering forces halted
and the retreating Australian forces were given a breather to
bring in reinforcements over the track. By the end of August
1942, the initial Japanese forces in front of Deniki had been
reinforced to almost 13,000 men. Faced with these lopsided odds
( the Australians at this point only fielded about 600 troops
), on August 13th the Australians pulled back to stronger positions
at Isurava.
- During the October-November counter offensive Deniki was
free from fighting. The Japanese withdrew through here after
the Battle of Eora Creek to take up positions east of Kokoda.
- The view here looks north into the valley with Kokoda Strip
and the village of Oivi visible in the upper left and right,
respectively.
|
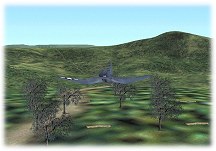
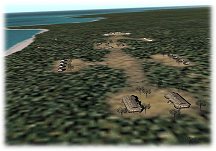
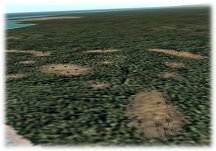
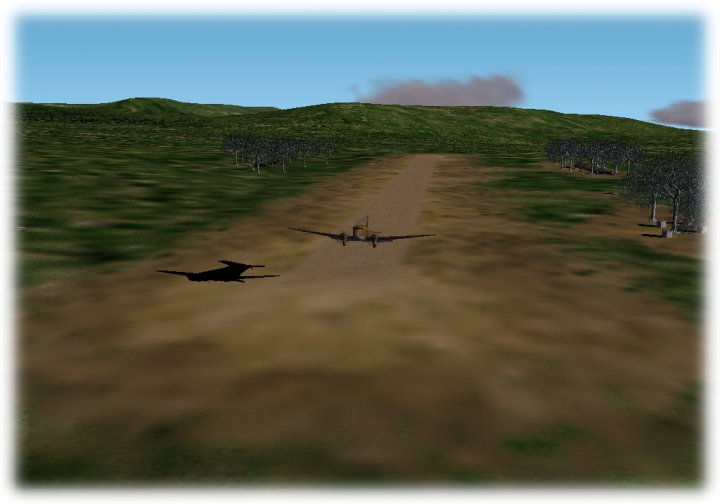
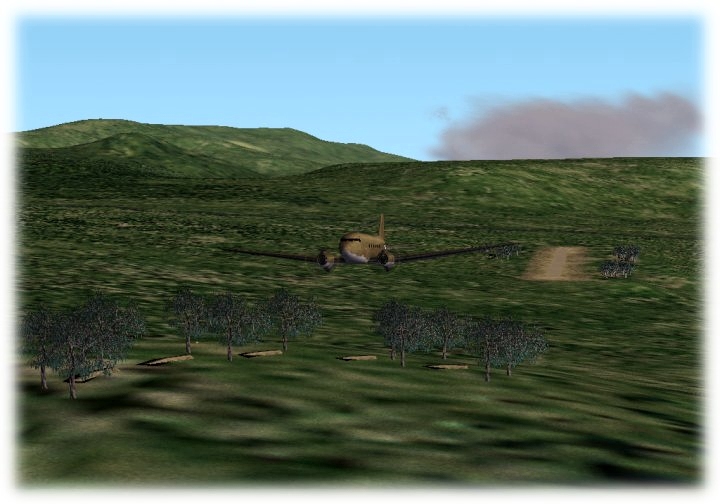
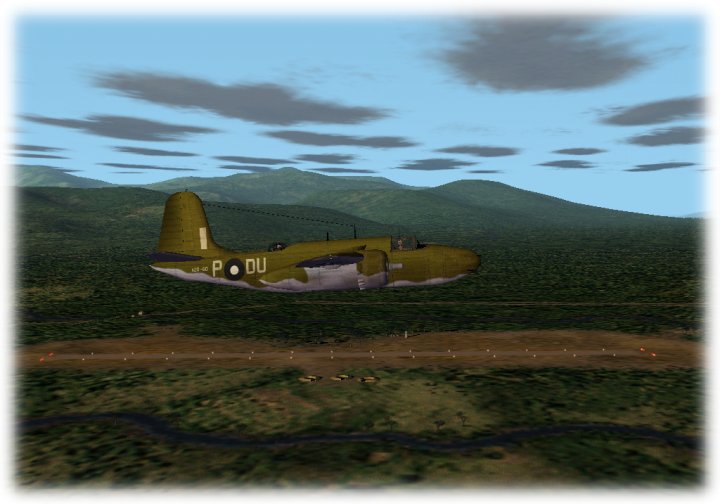
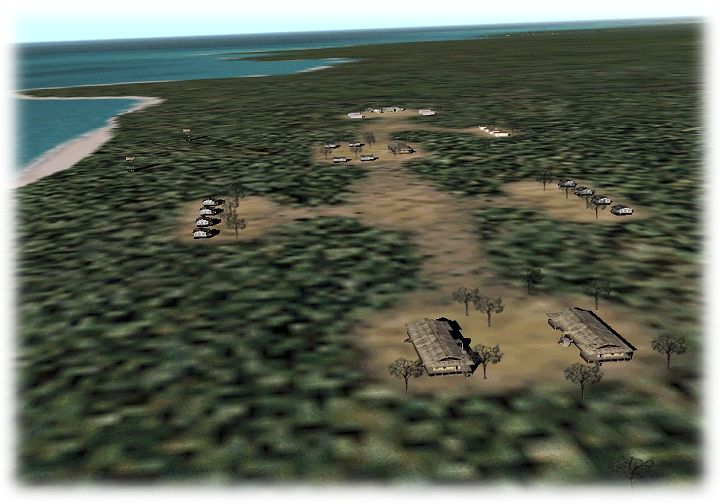
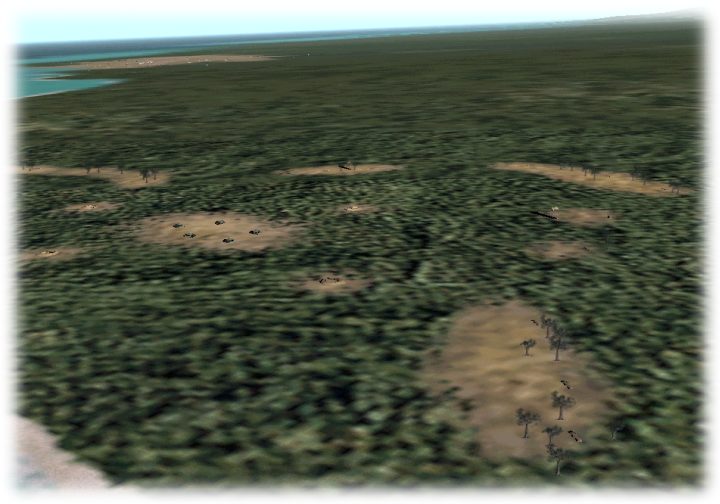
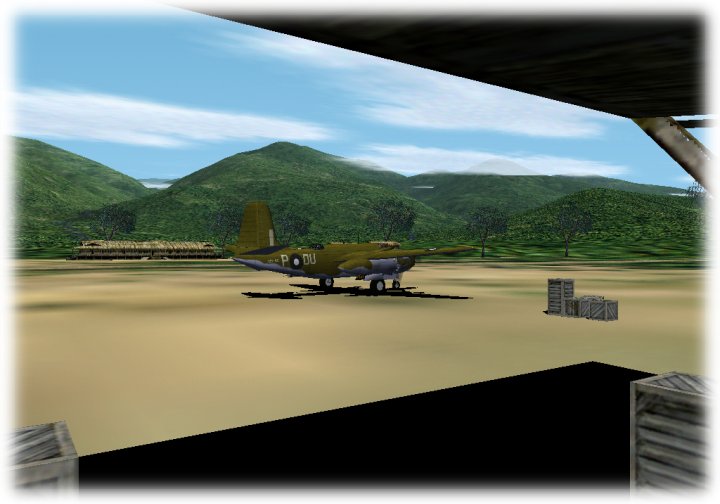
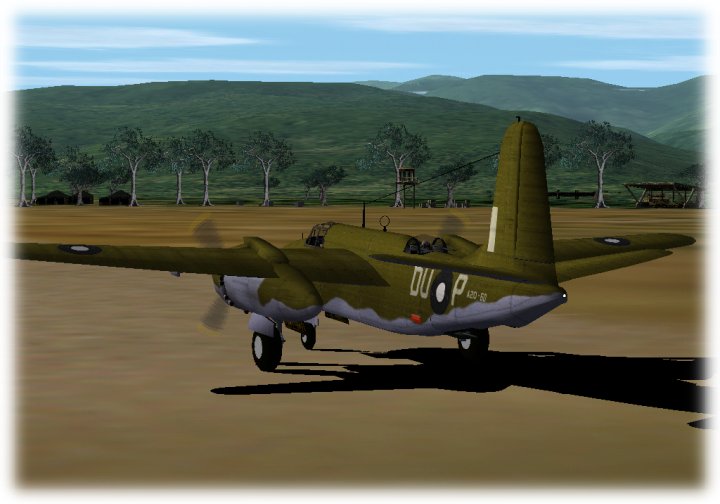
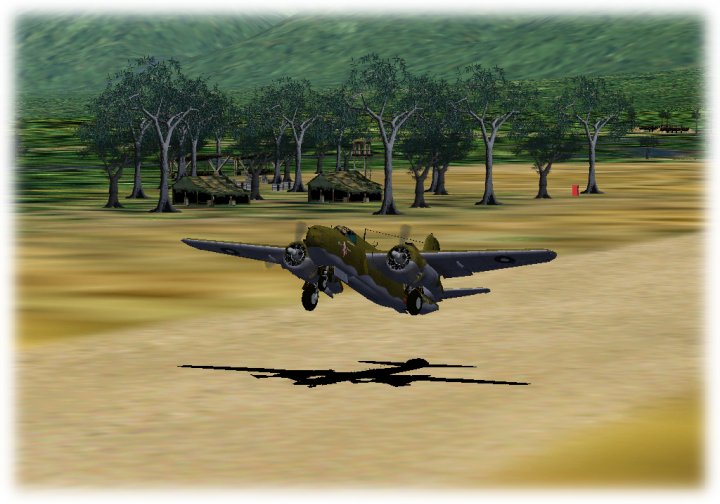
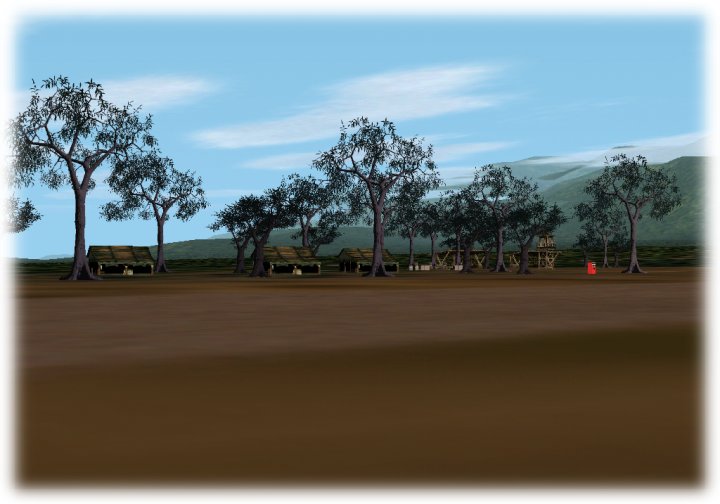
Yodda Valley: Kokoda Drome ( Pictures Only ), Oivi Village
and Gorari Village
  Left-
Kokoda Drome heading East to Oivi and Gorari. Right- Kokoda
Drome looking for gas! Other pictures of Kokoda Drome include:
Looking Back
at the Owen Stanleys; Check
out those trees; Taking
Off; Huts
& Trees Left-
Kokoda Drome heading East to Oivi and Gorari. Right- Kokoda
Drome looking for gas! Other pictures of Kokoda Drome include:
Looking Back
at the Owen Stanleys; Check
out those trees; Taking
Off; Huts
& Trees
-
-
-
-
-
 Oivi
Village ( left )- On the afternoon of July 26th 1942, during
the withdrawal from the Gona-Buna area, the Australians, under
the command of Capt. Sam Templeton, ambushed the advancing Japanese
here at Oivi. During the night while checking on rear positions
of the perimeter, Capt Templeton was killed. Later that night,
the Australian and Papuan forces broke out of the Oivi perimeter
and withdrew to positions beyond Kokoda high in the hills at
the outpost of Deniki. Oivi
Village ( left )- On the afternoon of July 26th 1942, during
the withdrawal from the Gona-Buna area, the Australians, under
the command of Capt. Sam Templeton, ambushed the advancing Japanese
here at Oivi. During the night while checking on rear positions
of the perimeter, Capt Templeton was killed. Later that night,
the Australian and Papuan forces broke out of the Oivi perimeter
and withdrew to positions beyond Kokoda high in the hills at
the outpost of Deniki. The view here
looks back down the track toward Kokoda and Eora Creek Gorge. The view here
looks back down the track toward Kokoda and Eora Creek Gorge.
- Oivi also figured in the Australian counter offensive. On
November 2nd, after reoccupying Kokoda, Australian units encountered
the Japanese units covering Oivi in the jungles south of the
village. In a daring move the commander of the Australian forces
sent units in a sweep south and east to attack Gorari ( right
), the next village held by the Japanese along the track
to Buna. This attack was successful and with their line of supply
and retreat cut, the Japanese at Oivi were forced to make their
way as best they could north and east back to the coast. Not
many ever made it. The view here looks east toward Wairopi.
|
Wairopi to the sea
 Wairopi
( right )- here, about 20 miles from the coast, the Kokoda
Track crossed the Kumusi River. The name Wairopi comes from the
native pidgin for "wire rope". A bridge suspended from
wire rope spanned the river at this point. The view here looks
SW toward Kokoda. Wairopi
( right )- here, about 20 miles from the coast, the Kokoda
Track crossed the Kumusi River. The name Wairopi comes from the
native pidgin for "wire rope". A bridge suspended from
wire rope spanned the river at this point. The view here looks
SW toward Kokoda.
-
 Gona
Mission ( left )- initial Japanese landings were made 1 km
east of here on night of 21/22 July, 1942. This view looks east.
In this view- the landing beach was between the two points of
land just ahead. Gona
Mission ( left )- initial Japanese landings were made 1 km
east of here on night of 21/22 July, 1942. This view looks east.
In this view- the landing beach was between the two points of
land just ahead.
-
-
-
-
-
 Sanananda
Point ( right )- Half way between Buna and Gona on the northern
Papuan coast, was an uninviting desolate swamp area. It formed
the center of the main Japanese defensive position in the final
battles of the Papuan campaign. The Japanese commander concentrated
most of his force in this area and took personal command here.
The view here looks east toward Buna and Dobodura. Sanananda
Point ( right )- Half way between Buna and Gona on the northern
Papuan coast, was an uninviting desolate swamp area. It formed
the center of the main Japanese defensive position in the final
battles of the Papuan campaign. The Japanese commander concentrated
most of his force in this area and took personal command here.
The view here looks east toward Buna and Dobodura.
- As Japanese resistance faded into this one last pocket, the
Allied force north of the Owen Stanleys was built up. Airfields
were built on the flat areas around Dobodura and Popondetta.
All resistance by the Japanese in this sector ceased on 22 January
1943. The victory at Sanananda marked the end of a six month
Papuan campaign.
|
-
-
|


