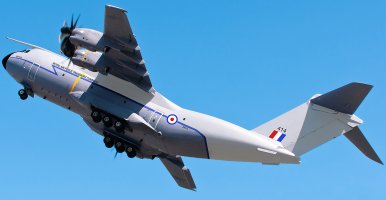
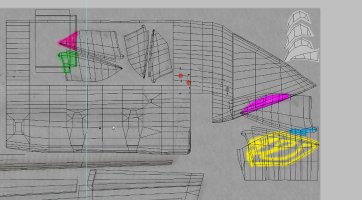
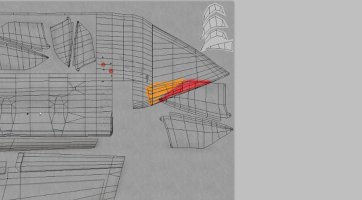
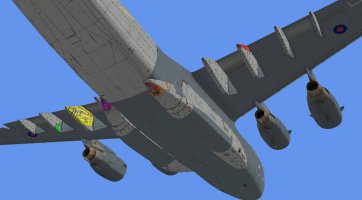
I recently purchased this bird and I am enjoying it immensely, but, the choice of paint schemes reminds me of this scene from the 'Spice World' movie:
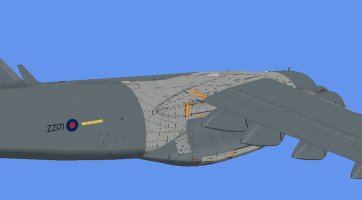
Rather than Posh Spice's dilemma we have the choice of: Do we fly the low-viz grey, the low-viz grey OR the low-viz grey!
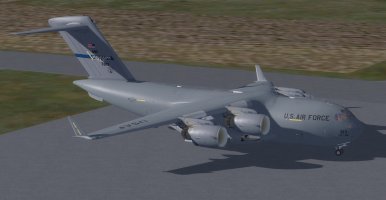
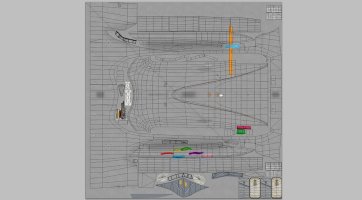
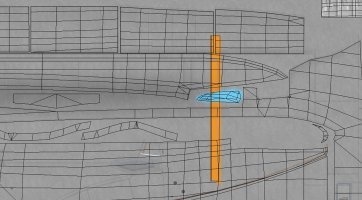
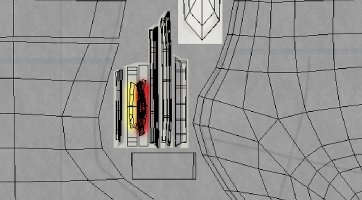
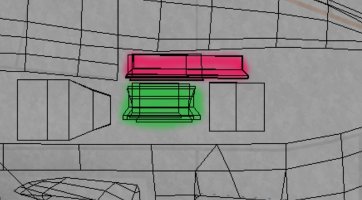
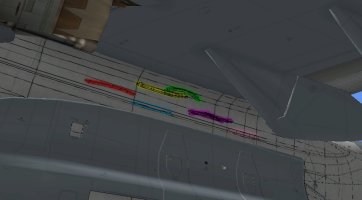
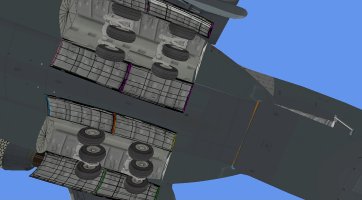
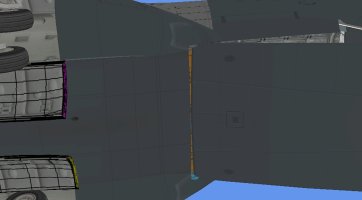
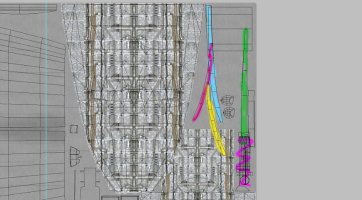
The only differences are the national name identifiers and respective roundels or stars! I went poking around and found the paint kit for the FSX version lurking on the old Alphasim freeware site and grabbed it to see if the files are the same as the P3D version. They are indeed the same file names so any repaint would be good for FSX or P3D (up to v4.5 at least, but non-PBR). There was a downside however, when I checked the paint kit more thoroughly I discovered that only two of the seven PSD files had the guide layers (without the guide layers complex repaints are much harder to do).
I figured nothing ventured, nothing gained, so I shot off an email to Virtavia tech support to see if it was possible to get the missing guide layers. Less than 24 hours later I got an email back with the full set of guides in a zip file and this was on a weekend too! I can't thank Phil at Virtavia enough as this was customer service above and beyond in my book!
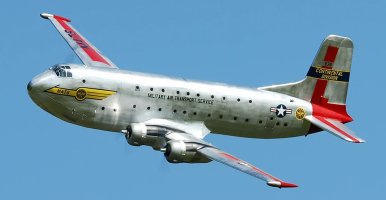
As I was now armed with a functional paint kit I needed some inspiration for paint schemes and started thinking about all the great schemes from the 50s through to the 80s before everyone went low-viz (yawn). Part of the inspiration came from the fact that the 'Globemaster' is a name that has a huge history as does the various 'Transport Command' units on both sides of the 'pond'.
This was among the first ones to catch my eye and started the creative juices flowing:
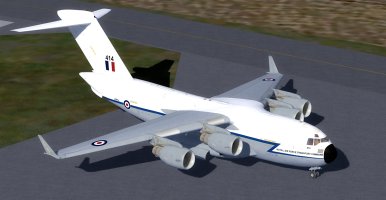
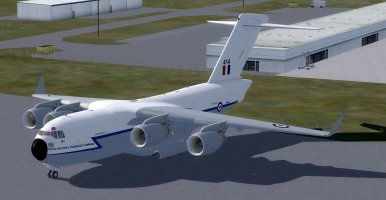
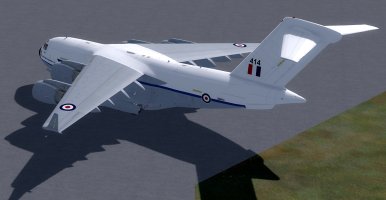
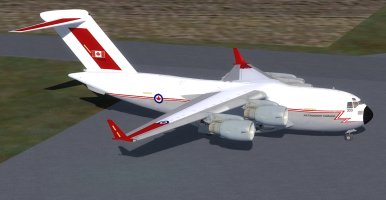
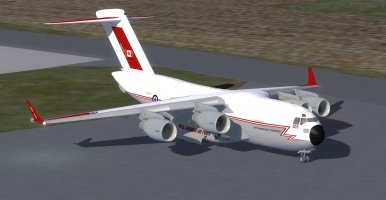
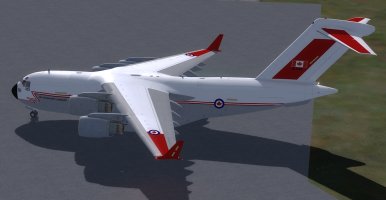
After less than 2 days of work this is what I have now:
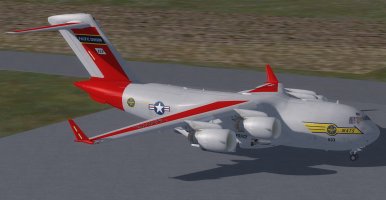
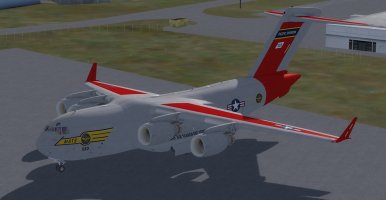
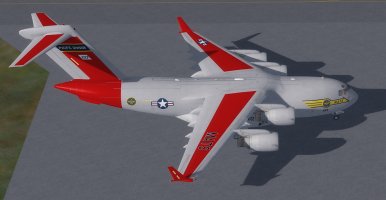
I plan on making the following 'what if' repaints now I have a feel for the paint kit:
RAF Transport Command in the scheme worn on the Short Brother's Belfast (https://static1.simpleflyingimages...._SC-5_Belfast_C1_UK_-_Air_Force_AN2256546.jpg)
RCAF Transport Command from the period (lots of aircraft to copy) (https://media.abpic.co.uk/pictures/full_size_0379/1568625-large.jpg)
If I can get the paint kit to play nicely I might attempt some camo schemes like:
The RAF Beverley Suez Crisis desert camo (https://media.abpic.co.uk/pictures/full_size_0538/1818874-large.jpg)
The RAF 80's green/grey camo (https://www.surclaro.com/modules/Me...hots/FS2004/C-130K_Hercules_RAF_80-s_Camo.JPG)
The USAF SEA 'Nam camo (https://www.flugzeuginfo.net/images/museums/amcm/fairchild_c-123k_usaf_4-0658_amcm14_03.jpg)
If anyone is interested in any of these 'what if' repaints (I know they are not for everyone) I will happily upload them to the library.
Rather than Posh Spice's dilemma we have the choice of: Do we fly the low-viz grey, the low-viz grey OR the low-viz grey!


The only differences are the national name identifiers and respective roundels or stars! I went poking around and found the paint kit for the FSX version lurking on the old Alphasim freeware site and grabbed it to see if the files are the same as the P3D version. They are indeed the same file names so any repaint would be good for FSX or P3D (up to v4.5 at least, but non-PBR). There was a downside however, when I checked the paint kit more thoroughly I discovered that only two of the seven PSD files had the guide layers (without the guide layers complex repaints are much harder to do).
I figured nothing ventured, nothing gained, so I shot off an email to Virtavia tech support to see if it was possible to get the missing guide layers. Less than 24 hours later I got an email back with the full set of guides in a zip file and this was on a weekend too! I can't thank Phil at Virtavia enough as this was customer service above and beyond in my book!
As I was now armed with a functional paint kit I needed some inspiration for paint schemes and started thinking about all the great schemes from the 50s through to the 80s before everyone went low-viz (yawn). Part of the inspiration came from the fact that the 'Globemaster' is a name that has a huge history as does the various 'Transport Command' units on both sides of the 'pond'.
This was among the first ones to catch my eye and started the creative juices flowing:

After less than 2 days of work this is what I have now:


I plan on making the following 'what if' repaints now I have a feel for the paint kit:
RAF Transport Command in the scheme worn on the Short Brother's Belfast (https://static1.simpleflyingimages...._SC-5_Belfast_C1_UK_-_Air_Force_AN2256546.jpg)
RCAF Transport Command from the period (lots of aircraft to copy) (https://media.abpic.co.uk/pictures/full_size_0379/1568625-large.jpg)
If I can get the paint kit to play nicely I might attempt some camo schemes like:
The RAF Beverley Suez Crisis desert camo (https://media.abpic.co.uk/pictures/full_size_0538/1818874-large.jpg)
The RAF 80's green/grey camo (https://www.surclaro.com/modules/Me...hots/FS2004/C-130K_Hercules_RAF_80-s_Camo.JPG)
The USAF SEA 'Nam camo (https://www.flugzeuginfo.net/images/museums/amcm/fairchild_c-123k_usaf_4-0658_amcm14_03.jpg)
If anyone is interested in any of these 'what if' repaints (I know they are not for everyone) I will happily upload them to the library.

