How does that work?
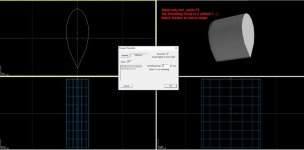
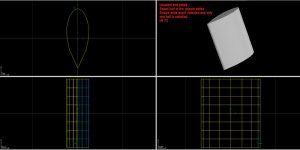
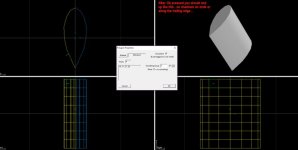
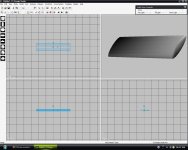
When I run the poly-smoothing function, I get parts out that are 'mushed', smears of highlight and shadow that render the product unusable. It's a bit of a show stopper for things like canopy's. Yet, I see smoothed models out of FSDS every day. What's the catch? I have not found the magic formulae to varty the smoothing angle between vertices- if that is the correct way to describe that; but it must be in there somewhere.
Any thoughts?

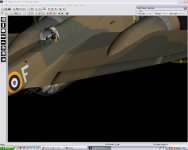
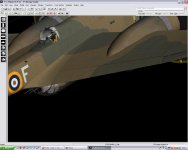
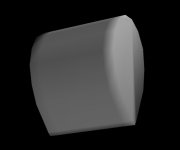
") (inserting pencil in ear and wondering how it would feel just to hammer it in a little bit...) uh-oh, have to get cosy with FSDS...canopy-a mess of flat sides merging into curves...where's that pencil sharpener?
(inserting pencil in ear and wondering how it would feel just to hammer it in a little bit...) uh-oh, have to get cosy with FSDS...canopy-a mess of flat sides merging into curves...where's that pencil sharpener?