• There seems to be an uptick in Political comments in recent months. Those of us who are long time members of the site know that Political and Religious content has been banned for years. Nothing has changed. Please leave all political and religious comments out of the forums.

    If you recently joined the forums you were not presented with this restriction in the terms of service. This was due to a conversion error when we went from vBulletin to Xenforo. We have updated our terms of service to reflect these corrections.

    Please note any post refering to a politician will be considered political even if it is intended to be humor. Our experience is these topics have a way of dividing the forums and causing deep resentment among members. It is a poison to the community. We appreciate compliance with the rules.

    The Staff of SOH

  • Server side Maintenance is done. We still have an update to the forum software to run but that one will have to wait for a better time.

PBR Texturing: Introduction to 3D Workflow in Photoshop

That's a lovely repaint of a much-loved model, and I'm full appreciative of it, but what does PBR actually do ? The DCS Mig-15 already has a selection of colour schemes, and very good they are too, so I'm a bit lost as to what benefits PBR brings to the user. If you are a developer, then no doubt the advantages are manifest, but to this untrained eye there isn't anything that is immediately obvious.

Avoiding initialisms, acronyms or esoteric techno-talk, could someone explain the basic benefits of PBR to this layman ?
 
PBR is "Physically Based Rendering" which means that rather than being 'flat' textures which you need to apply manual shading to, what you do is apply materials with certain properties and the rendering engine creates the textures, meaning that you can have realtime reflections, shadows, if the engine works properly then you can add dirt, snow, whatever, buildup on the model over time as well.

It improves graphics phenomenally. I've been using parts of it (mainly Ambient Occlusion bakes) on my models for ages, but because my models aren't for the user, you very rarely see what the effects are capable of.

Here's quite a nice quick example: https://www.youtube.com/watch?v=2cSSIixRTUQ

Ian P.
 
That's a lovely repaint of a much-loved model, and I'm full appreciative of it, but what does PBR actually do ? The DCS Mig-15 already has a selection of colour schemes, and very good they are too, so I'm a bit lost as to what benefits PBR brings to the user. If you are a developer, then no doubt the advantages are manifest, but to this untrained eye there isn't anything that is immediately obvious.

Avoiding initialisms, acronyms or esoteric techno-talk, could someone explain the basic benefits of PBR to this layman ?

Just think of the elements of an object i.e. color, reflection, specular, gloss etc. as being the products of real world physics. Light bounces off of an object and behaves in a certain way. PBR renders those elements based upon the actual physics, rather than someone painting a canvas as something that resembles actual physics. The PBR engine creates a more real world representation of an object, and then bakes it in to a format that a simulator can utilize.
 
Last edited:
Get ready PBR is coming!!!

Posted today...


FSElite has obtained verified documents that suggest that Lockheed Martin are preparing to release Prepar3D V4.4 in Q4 of 2018. Even more exciting is the fact that these leaked documents point to version 4.4 being the first step to enabling Physically Based Rendering (PBR) textures in the simulator.

The internal email dated August 13th states that “Prepar3D V4.4’s beta is available now”.

https://fselite.net/news/prepar3d-v4-4-possibly-coming-q4-2018-with-pbr/
 
You can see from these images, particularly the first.... There's no comparison. P3D simply doesn't look like this. In fact at the moment, it can't look like this. The lighting engine will not allow it to.


43505718515_2f39f25721_o.png


44364513762_b4512ff675_o.png


43505719195_b1c5a922c4_o.png


44364515222_1a35c7a964_o.png
 
Thanks for the info and links, gentlemen. I think I can understand the explanation, but maybe not quite appreciate the advance over self-shadowing, dynamic reflections, alpha channels and so on. But if you all say it's good, then it's good. Thank you again
 
I read and took under consideration all of the comments following the first video. I have adjusted my approach a tad to address the issues people brought up.

I'll begin by clarifying what is required to use Quixel, specifically cost and complexity.

Forward
Quixel can be used in conjunction with these free platforms to generate art.

GMAX
ModelConverterX
Gimp


Mesh can be fully prepared for Quixel using these programs to generate assets for any Quixel project.


Textures generated in Quixel are easily converted for FSX/P3Dv2/P3Dv3 and P3Dv4. Slight tweaks will enable the 64bit features of a Quixel file for the 64 bit simulators.
The export process is exactly the same as multi layered FSX files prepared in Photoshop for texture, bump, alpha and specular files. Quixel layered files are simply flattened and exported with proper naming conventions as either BMP or DDS. FSX and current P3D engines will process those files in the same way any traditional bitmap file.
If and when Prepar3D moves into a dedicated PBR engine, Quixel PBR rendering will become fully realized, but until that time anyone can take advantage of the point and click interface to generate textures they previously thought out of their artistic reach.

One important thing to bear in mind is Quixel is not a purely PBR oriented workflow. Textures generated in the application can be used on any FSX or P3D mesh.

GMAX and Quixel
Gmax can generate mesh that can be converted to FBX or OBJ using ModelConverterX. In fact, any mesh that can be imported into MCX can be converted for use in Quixel.
Generate your GMAX mesh and export as .mdl. Import the .mdl into MCX and export the object as either FBX or OBJ. This mesh will import perfectly into Quixel in either format.


Mini Tutorial
I'll prepare a fully detailed video of the process I used to generate this project, and post that link here.

This project used a .mdl file that I imported to MCX and exported out as both FBX and OBJ. I prepared a single layered mesh in 3ds Max with three material ID tags for the barrel/receiver, buttstock/handguard and magazine. GMAX will do the same task. You can add as many color IDs layers as you would like here, I chose three for this simple illustration.

Quixel will support multiple dedicated mesh layers, but bear in mind that numerous Photoshop layers are generated for each mesh layer and this can become problematic if working at 4K and 8K. You will need a capable system to work at that level. I prefer a single mesh layer with color ID map to select specific components. These steps can be done in either GMAX or 3DStudio Max. BTW, if you want to try Studio free for a year, go down to your local college and enroll in any class to qualify for the student version of 3ds Max. That's a screamin' deal.

Step two, I prepared a color ID map based on the three materials that compose the mesh. Quixel will use the color template to assign textures to the mesh.
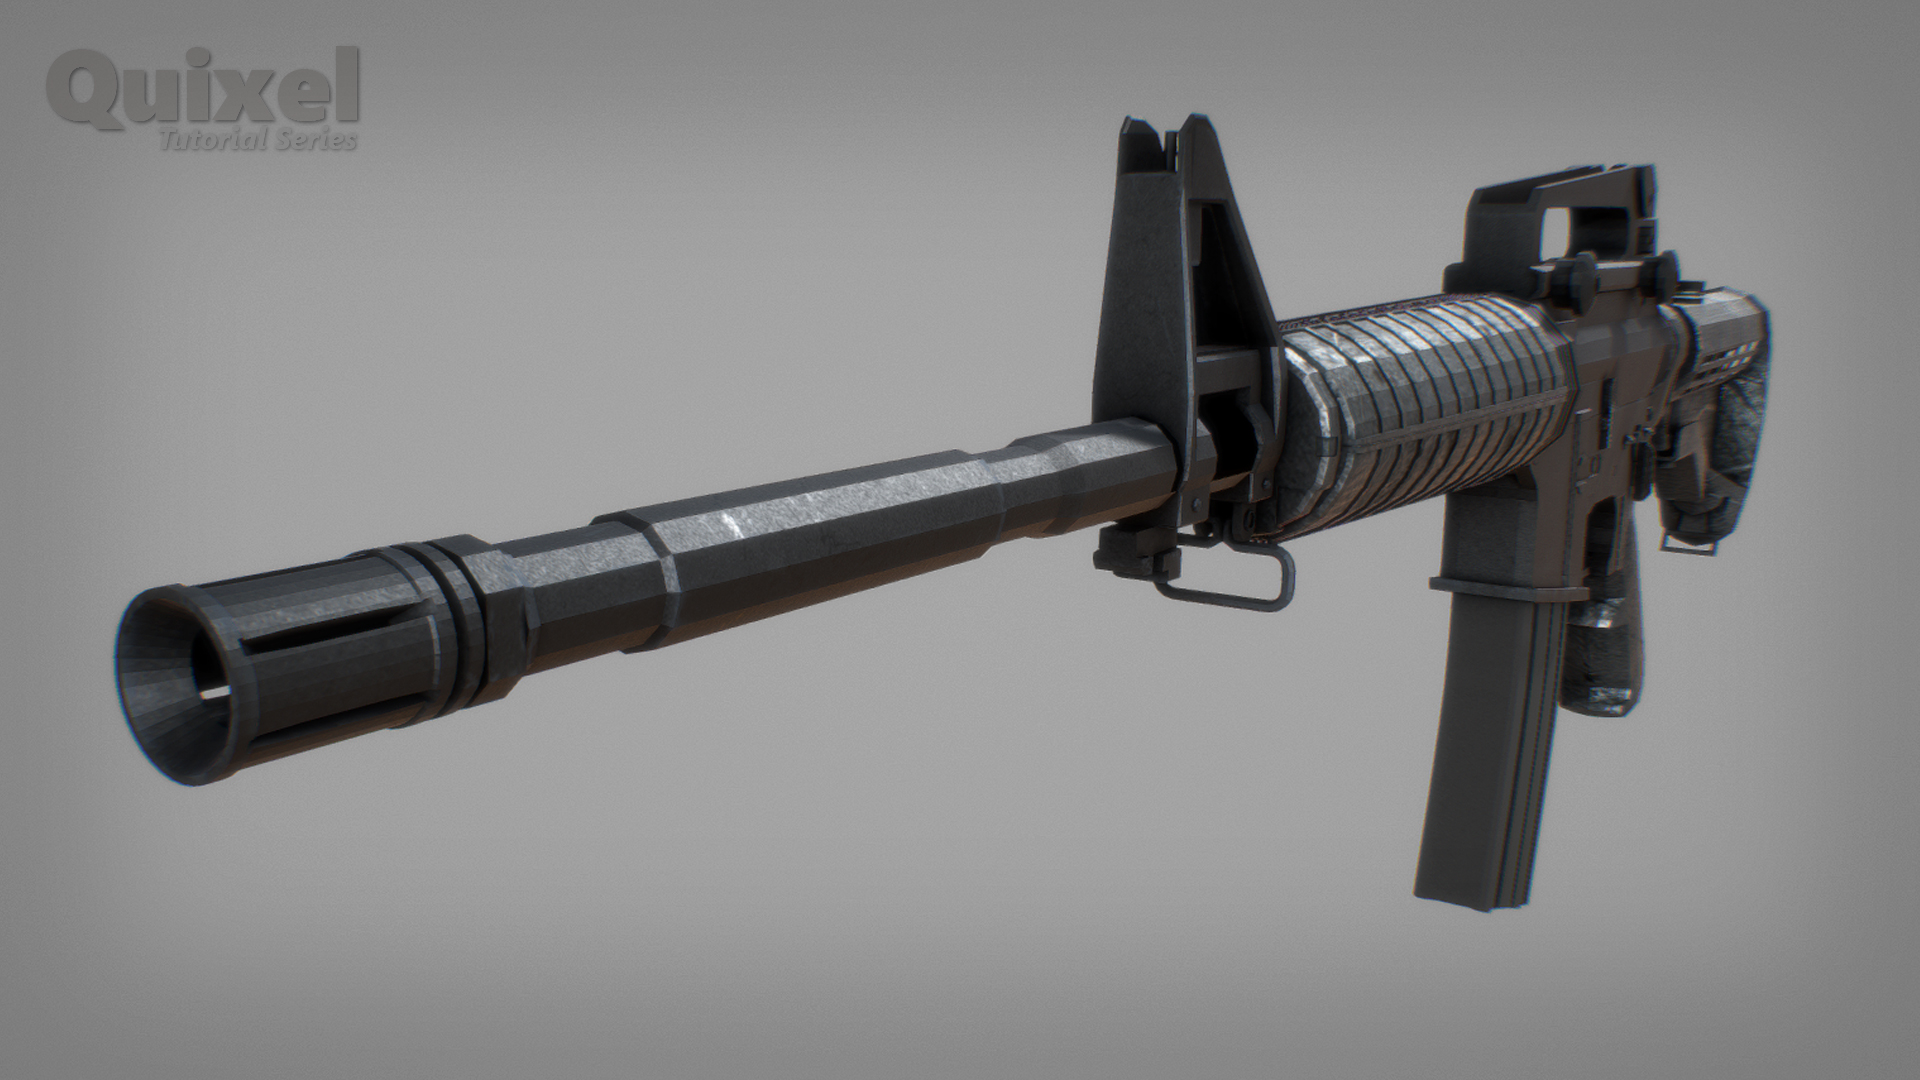
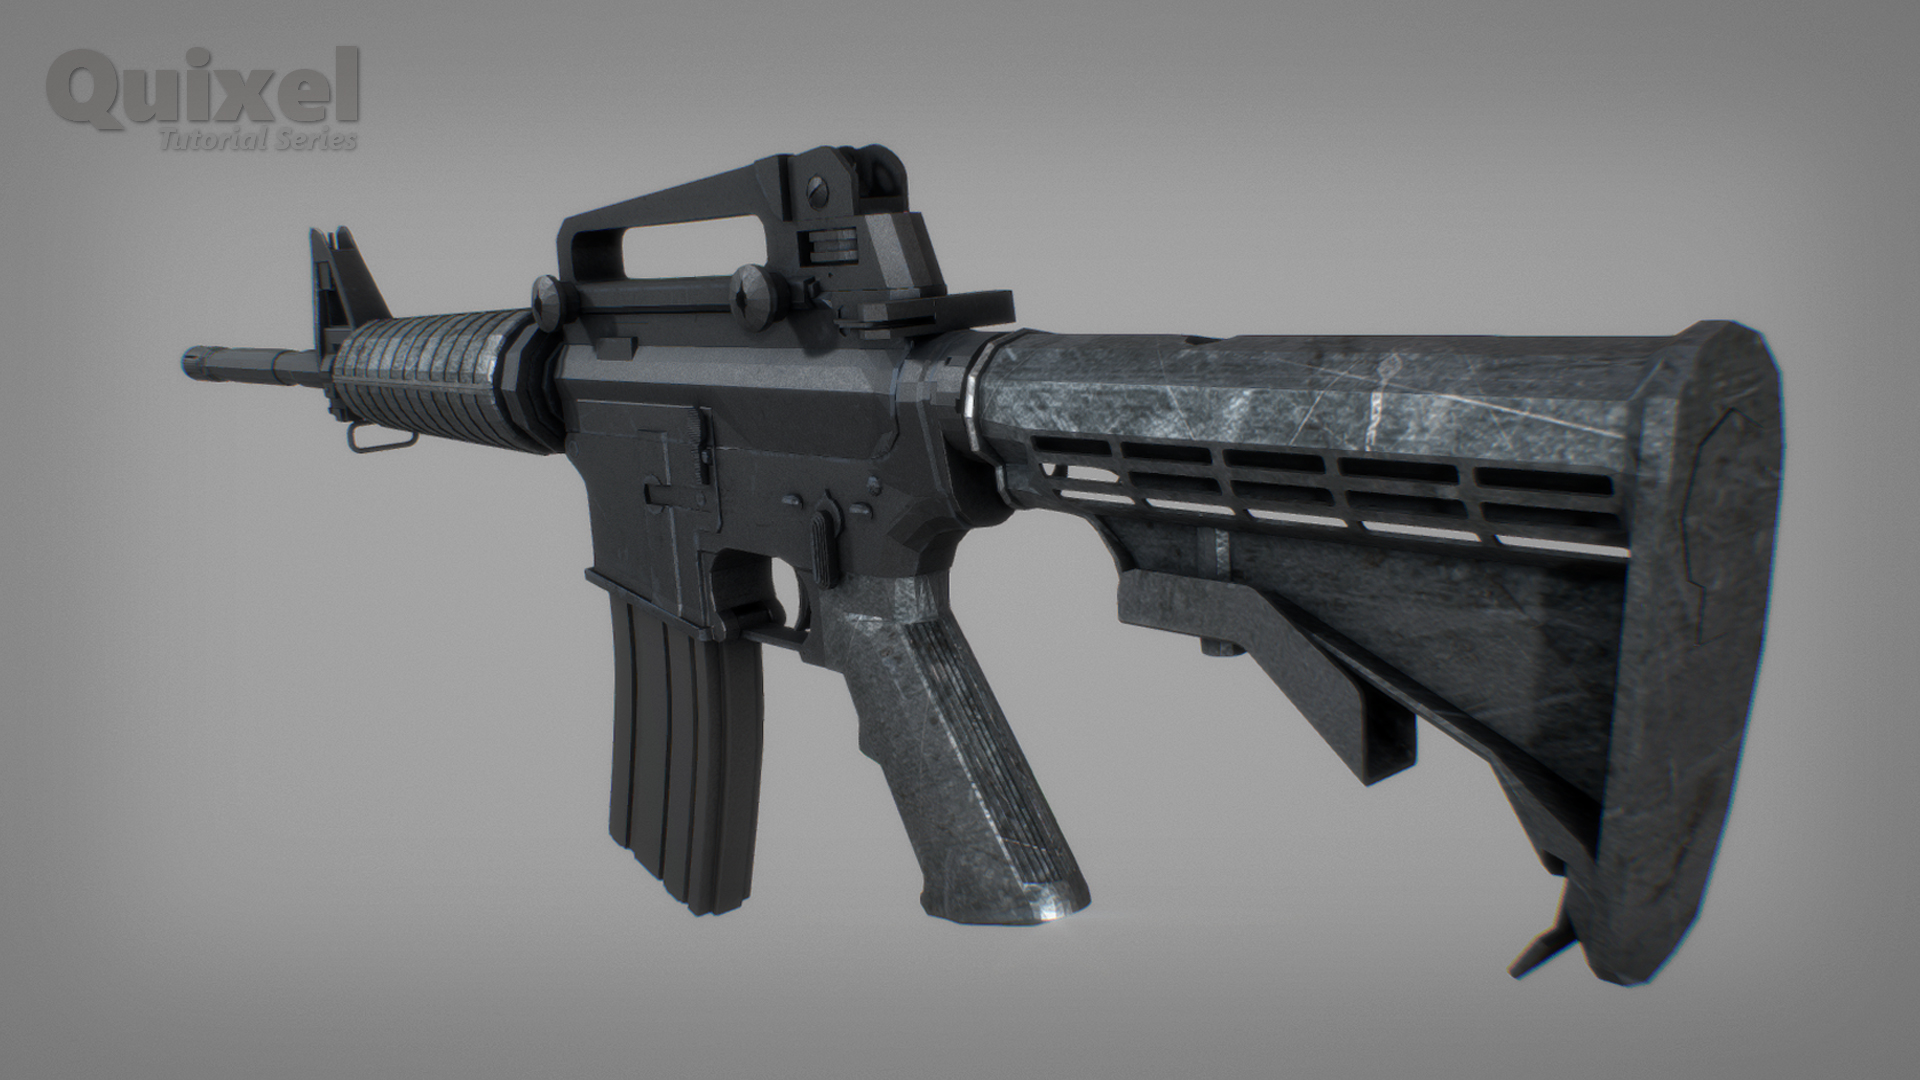
For the M4 Carbine in Quixel, I chose a polymer for the barrel/receiver, a camo polymer for the buttstock/handguard and gunmetal for the magazine.

Third, I created an ambient occlusion map, which is optional for this project. Quixel can use a baked AO map, or generate one automatically if one is not pre-baked in. I prefer to bake in my own AO, then layer it into the final bitmap render for the finished simulation model. Quixel generates specular layers in most of the textures. A single texture may consist of three color layers, gloss layers and specular layers. I have found that their specular files work better in most applications than hand painted specular files.

All of the art in this project was prepared by adding Quixel textures and a basic point and click application. This art is now ready for final detailing i.e. grip texturing and appropriate metal stamping and engraving. These details are easily added as layers in Photoshop.

Total production time...nine minutes from gray mesh to the renderings shown here. Not bad.


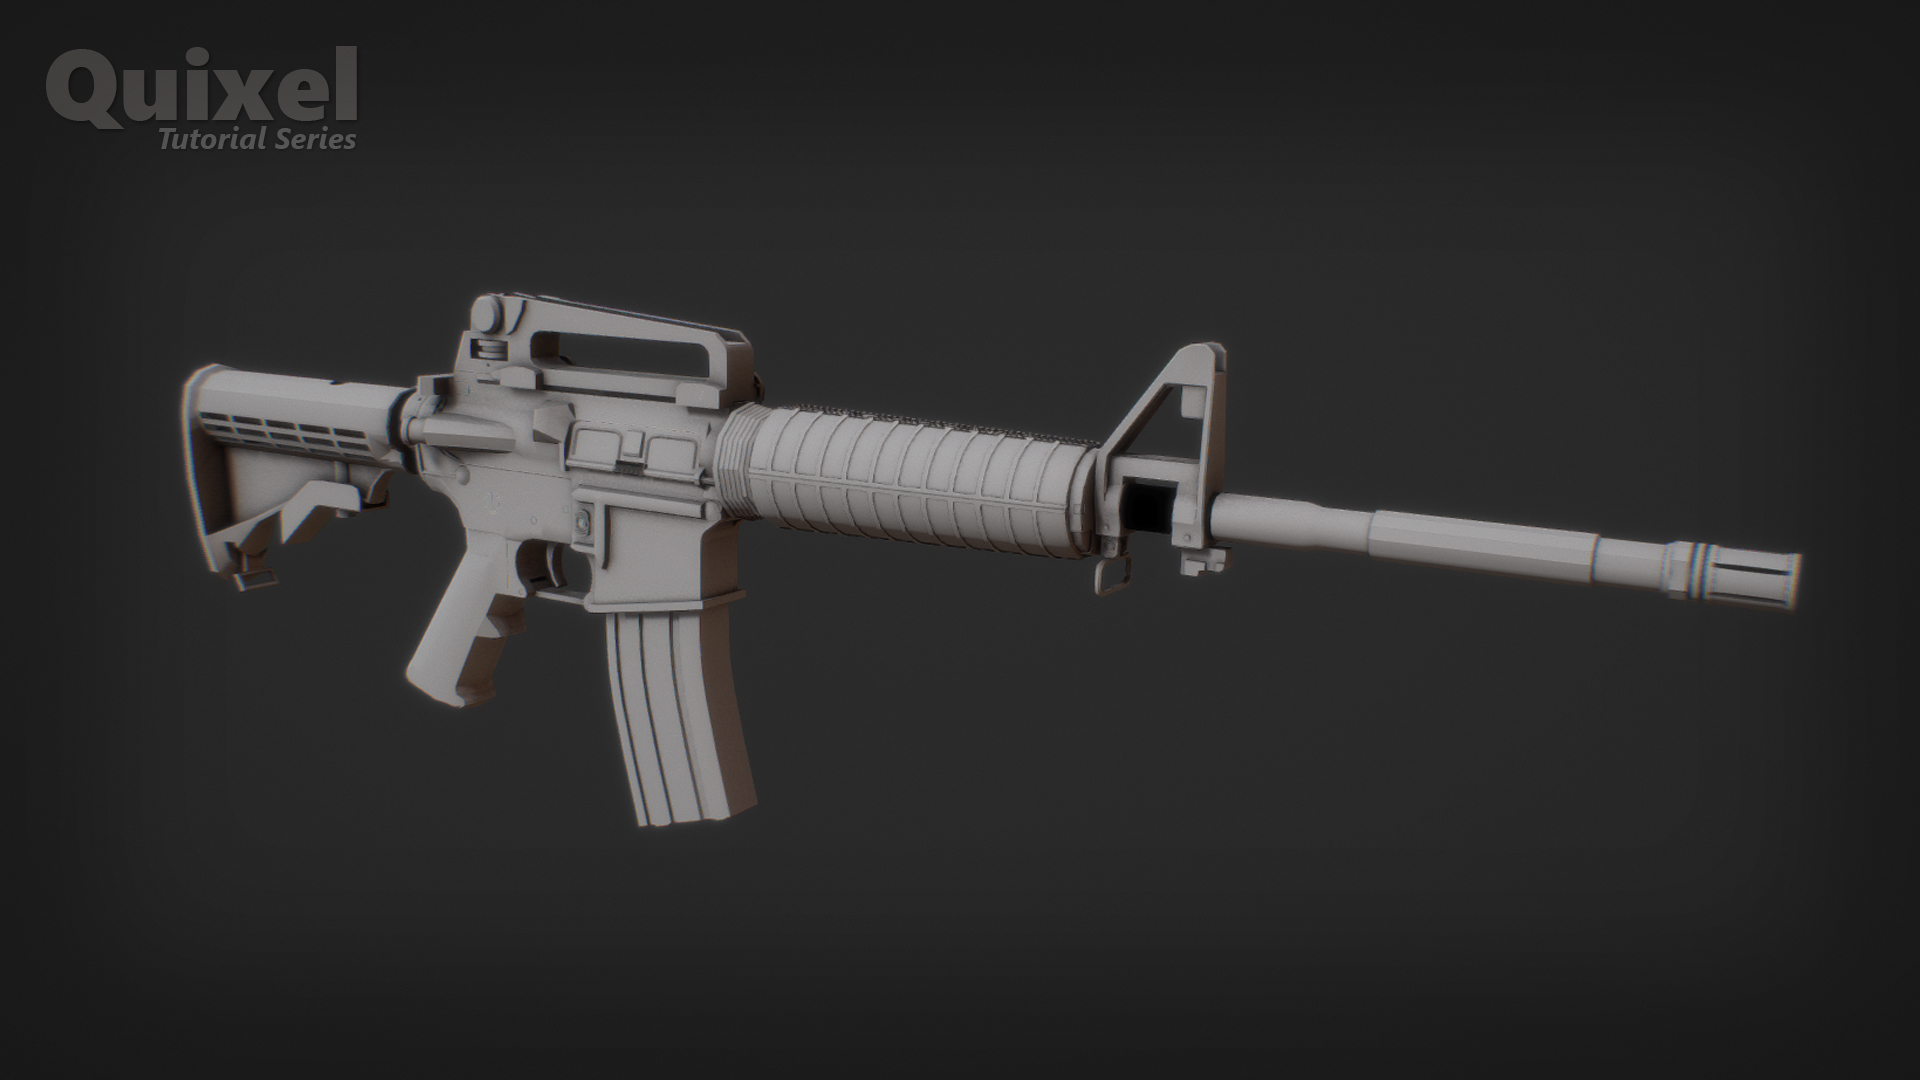
The raw FBX mesh with ambient occlusion applied.

44469998112_79b2f7fd17_o.jpg


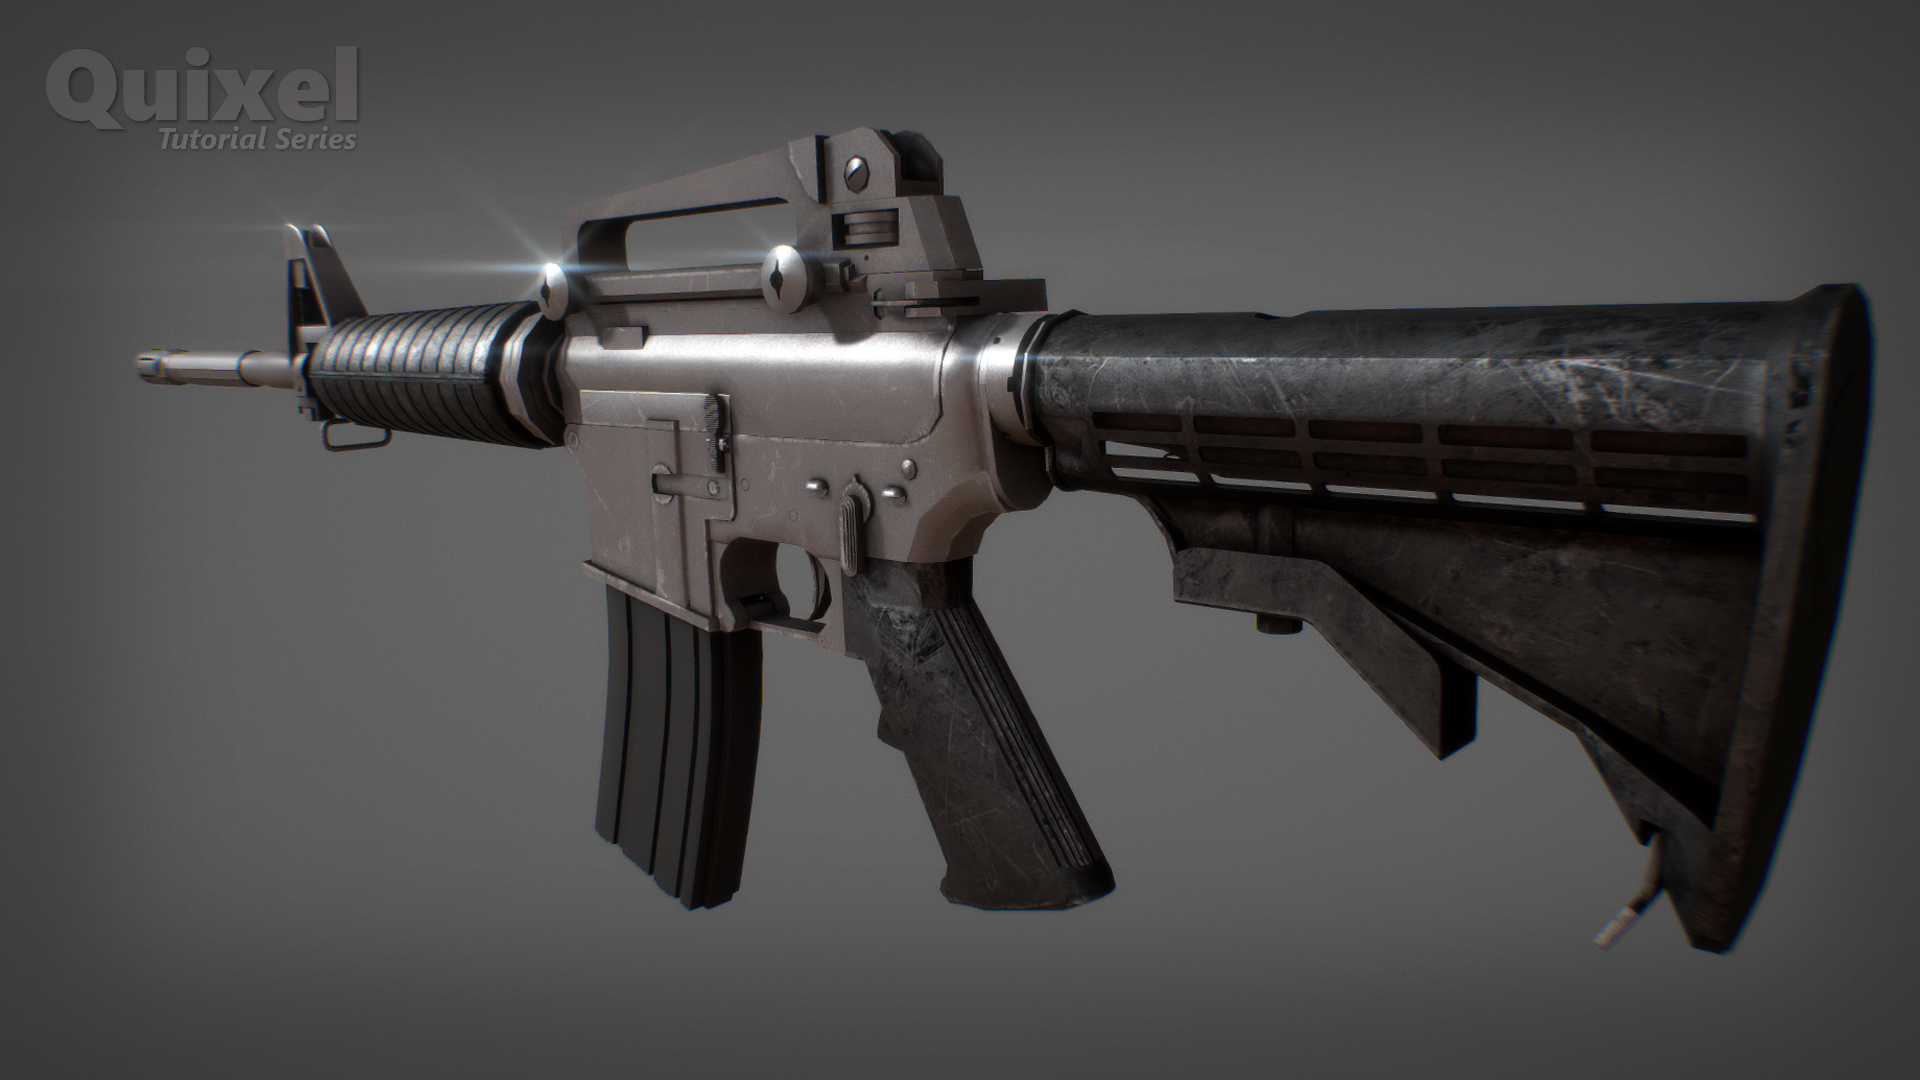
After application of three scan based materials to the mesh.
44469996092_285b34cdf0_o.jpg


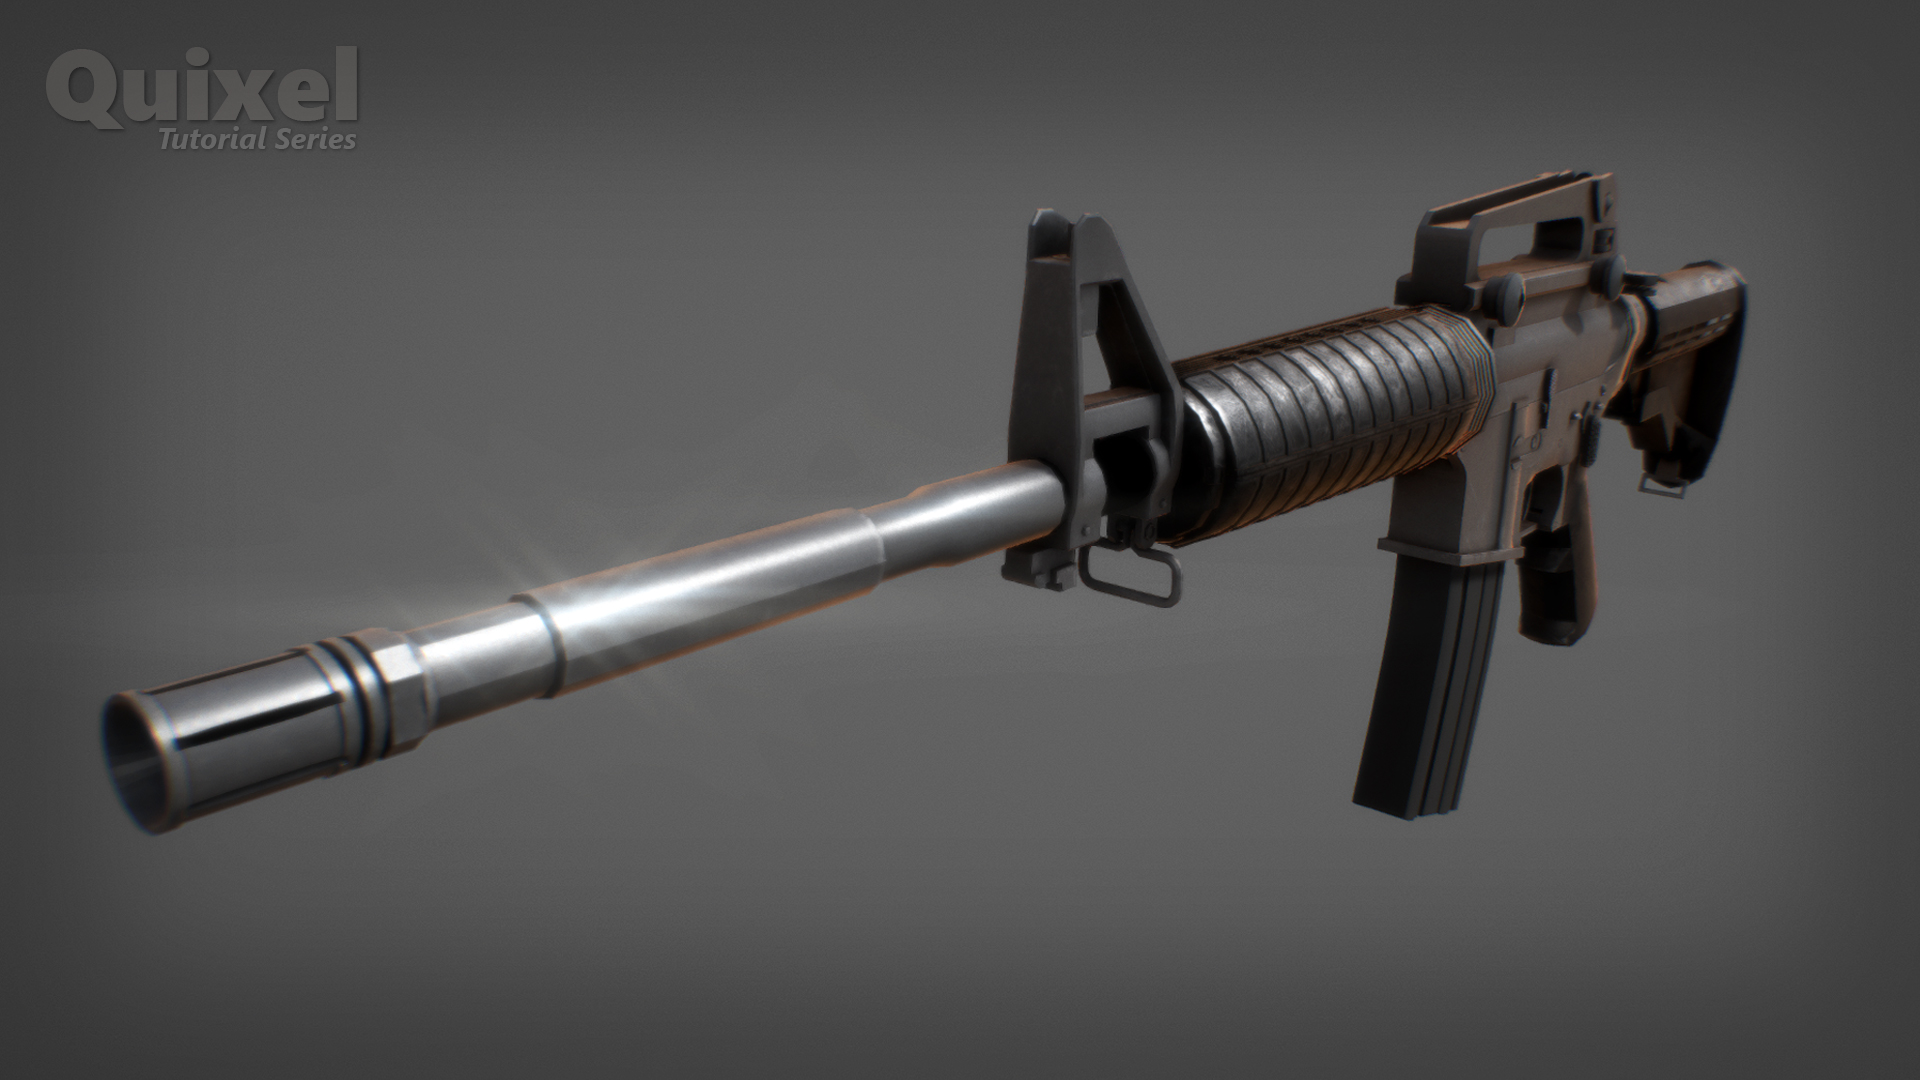
44469997202_4f473504ea_o.jpg
 
Last edited:
I've got Quixel Suite and have used it with Blender too, with varying degrees of success. One thing I will say is that it is recommended NOT to allow Quixel Suite to create your curvature map - it doesn't do a very good job at all. There are other tools that can do this better.

Ian P.
 
Hi,

that issue of edges in the geometry was was solved, at least from my perception. The Quixel curvature algorithm was "bending" the curvature around hard edges, making them less visible, but I have not seen this since I started to use it around two years ago.


Cheers,
Mark
 
Just look at Gordons's images above. E.g. the barrel of the gun. I guess there were no smoothing groups referenced to the uv shells. So Quixels curvature calculation left the hard edges on the rather low poly geometry.

Cheers,
Mark
 
Just look at Gordons's images above. E.g. the barrel of the gun. I guess there were no smoothing groups referenced to the uv shells. So Quixels curvature calculation left the hard edges on the rather low poly geometry.

Cheers,
Mark

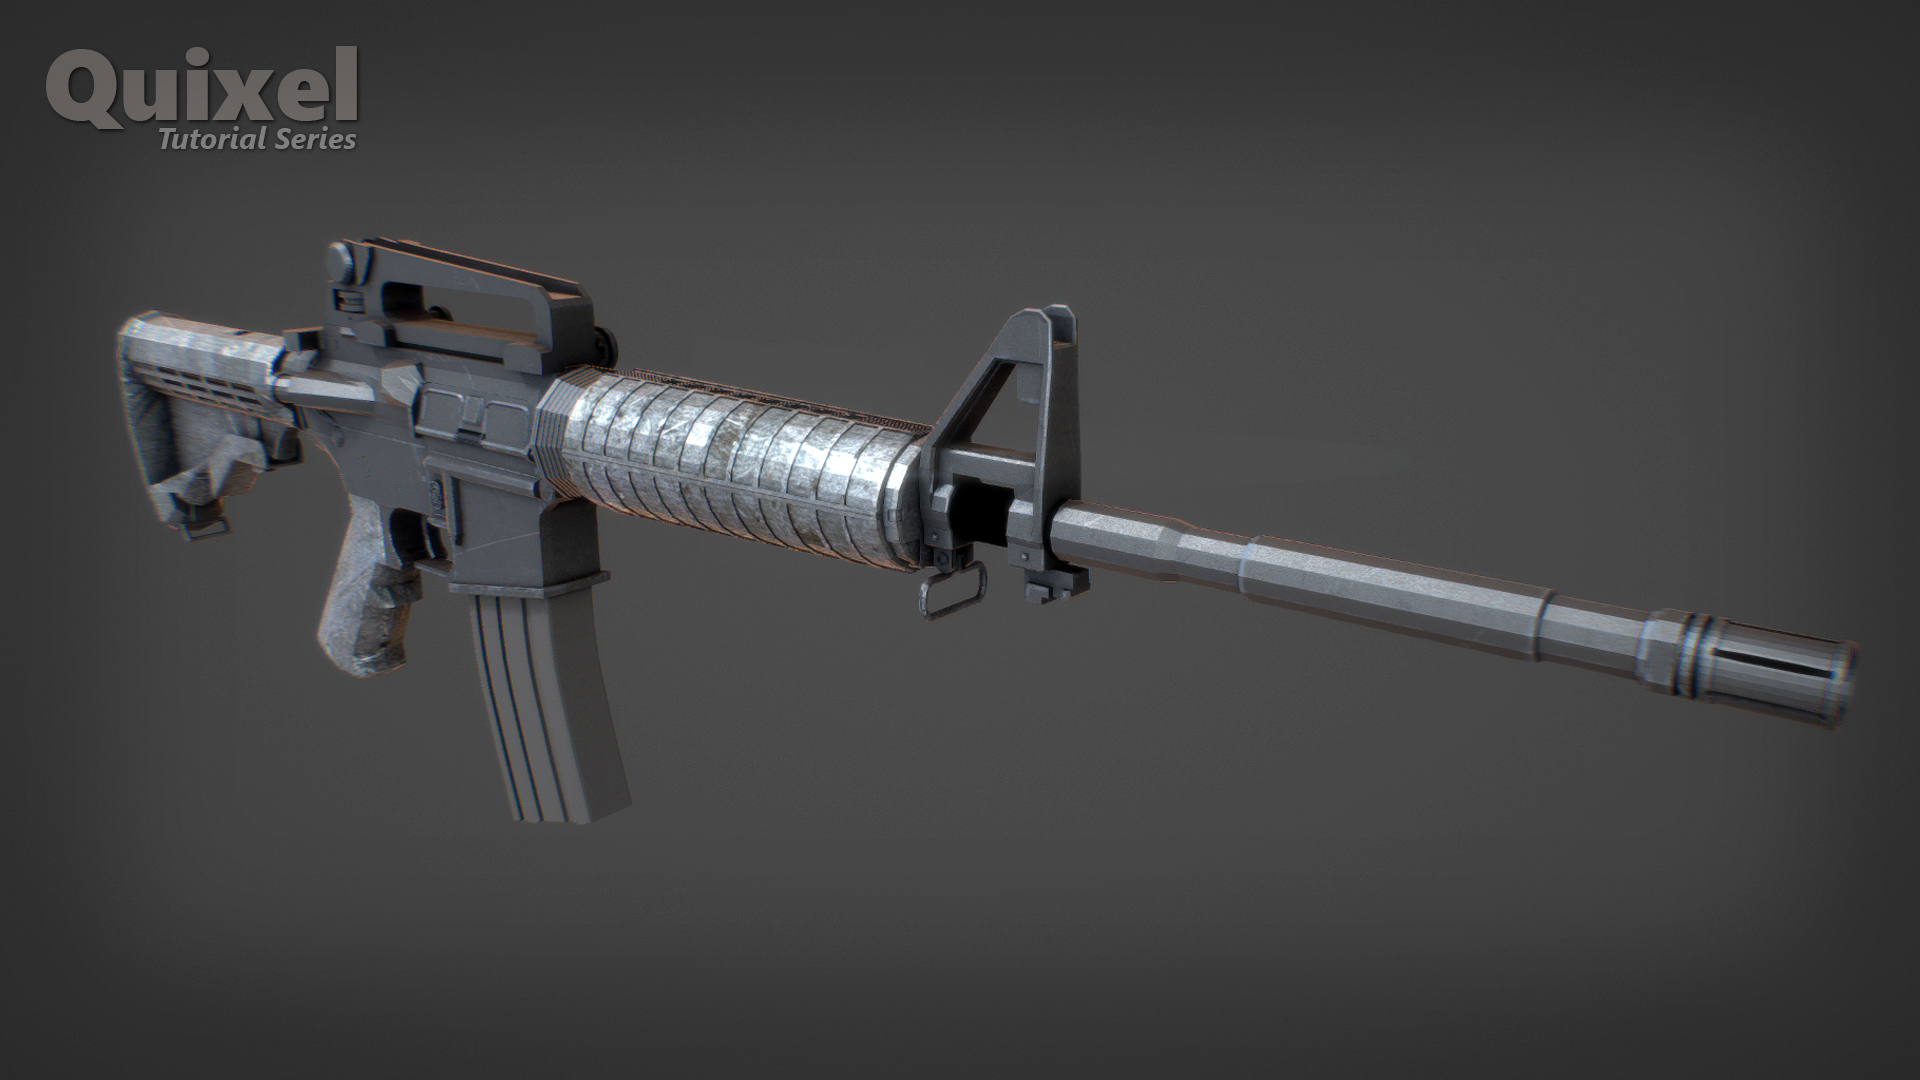
The caps in the second post are on an un-smoothed mesh. I went back, smoothed the mesh and did the second rendering. The caps in the top post are the smoothed model. Hope this helps. :encouragement:
 
Curvature Options in Quixel 2

I usually let Quixel bake an initial curvature map when it creates the project.

There is a ton of flexibility for curvature built into the interface that lets you modify curvature properties using sliders. This can be done for each layer that uses a dynamask. The mask will loosen or tighten along with a number of variables around the three dimensional polys. This can also be enhanced with poly smoothing applied to the mesh before exporting the FBX.

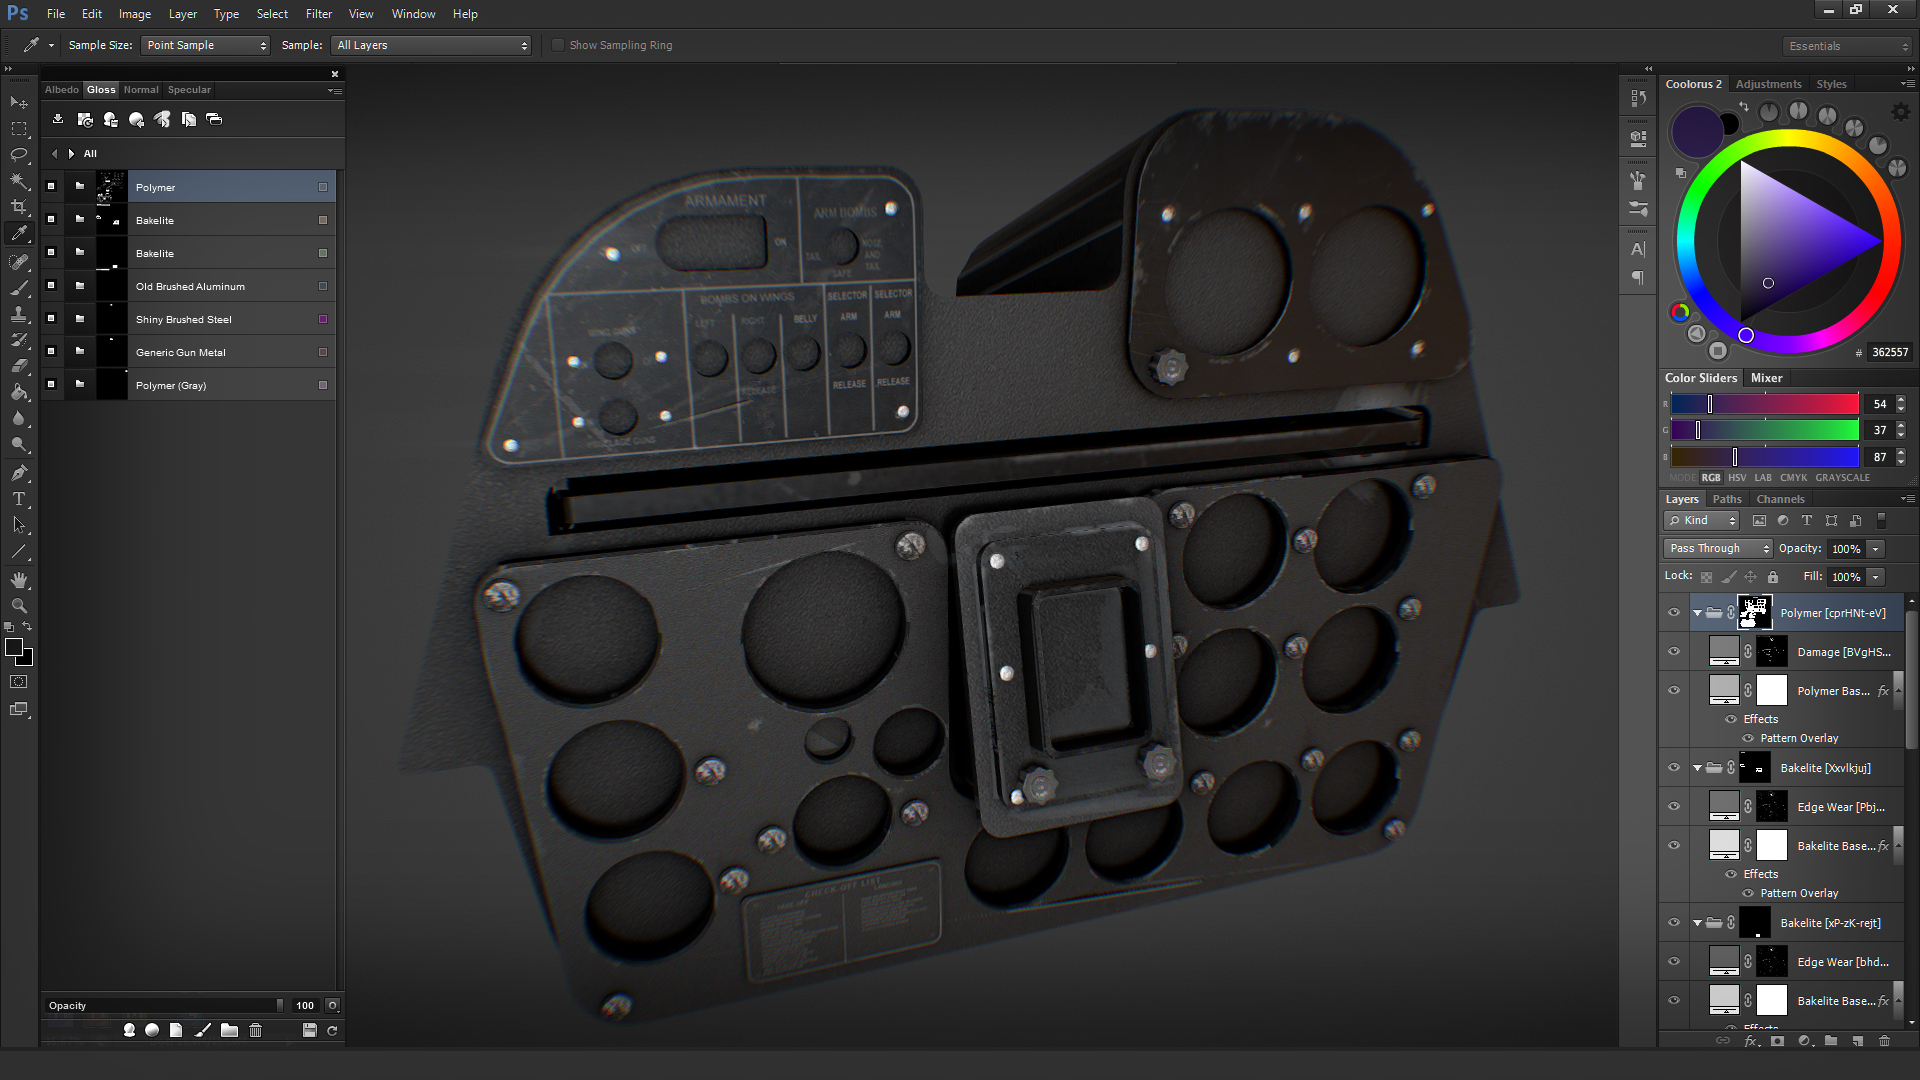
The first menu (at left) with layers for each color ID mesh component.


42734629580_2f067b23d2_o.jpg


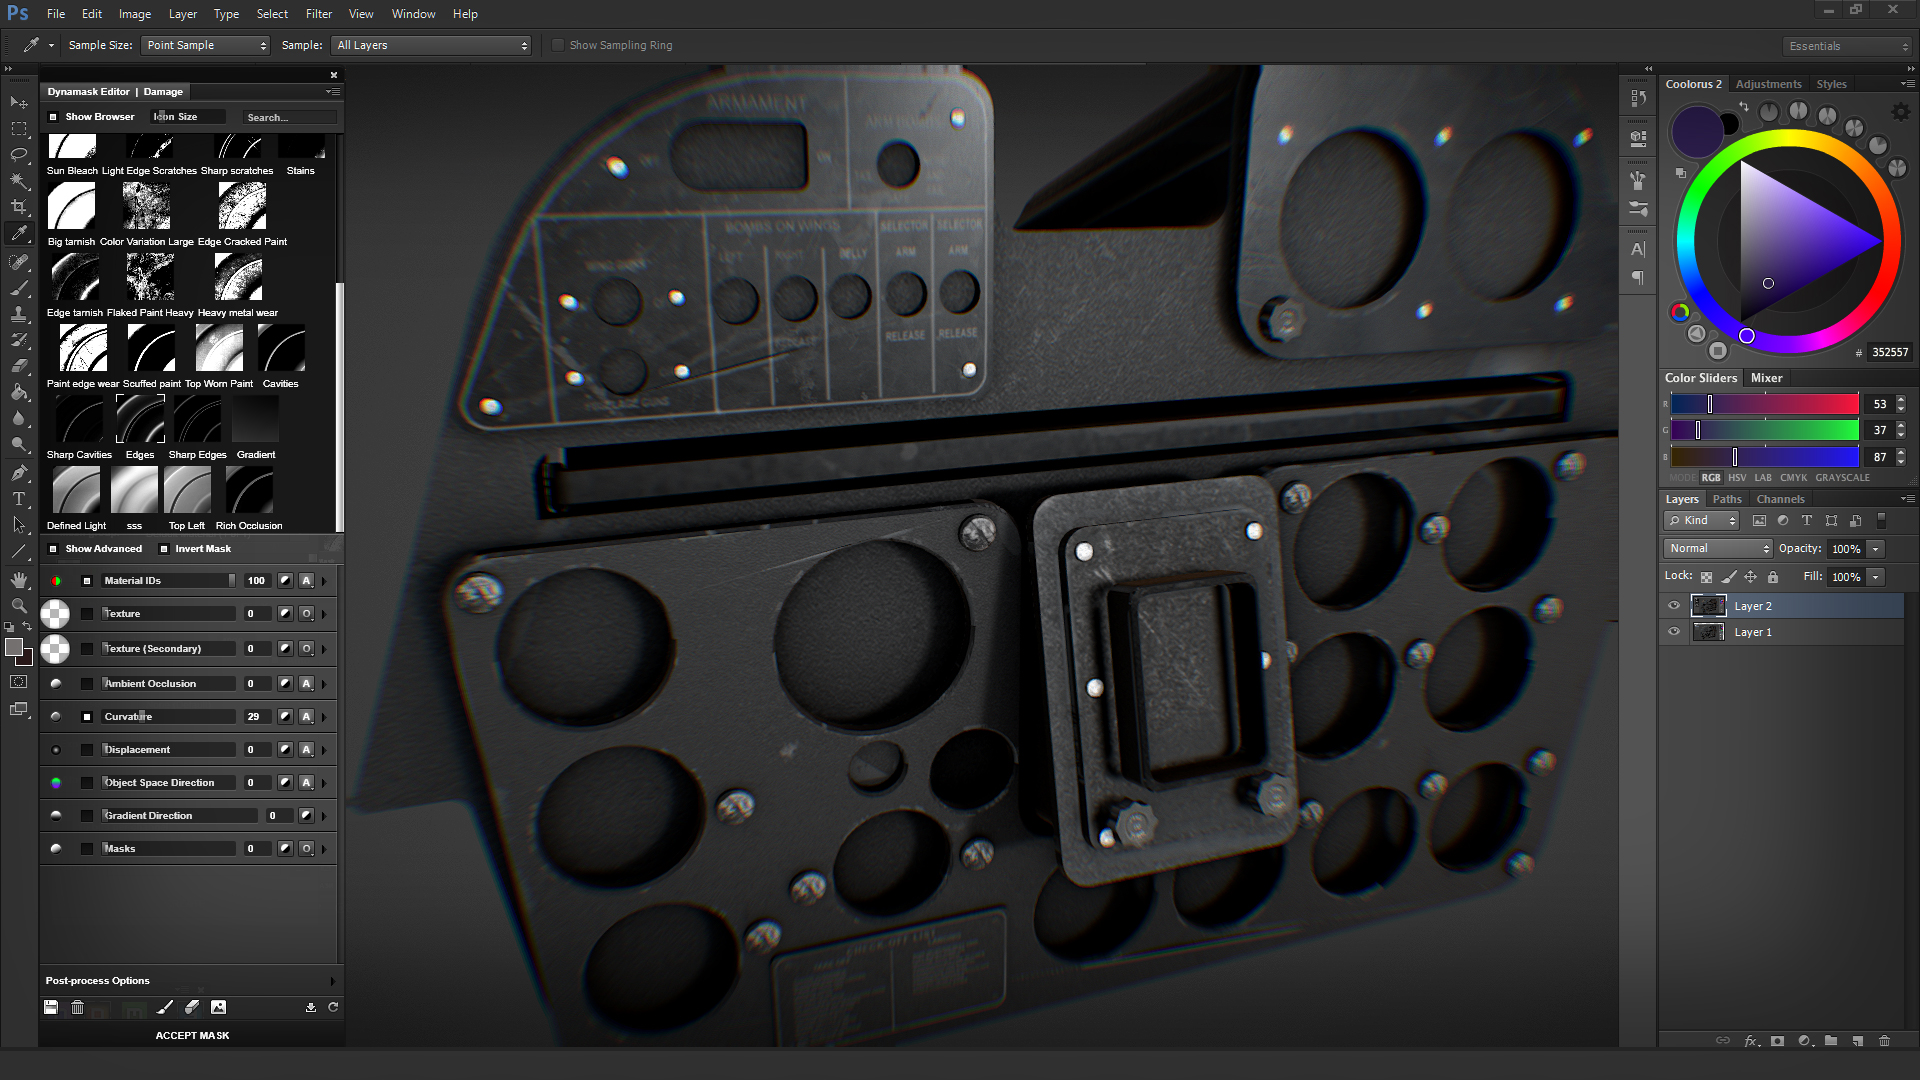
After selecting a layer and clicking the Dynamask option, the Dynamask Editor opens with a fully adjustable set of variables for curvature. I tightened up the curvature a bit to get the wear around the edges a bit heavier.

This cap also shows the normal mapping that is automatically generated when selecting a texture. The ability to move the mesh and light in three dimensions takes the guesswork out of bumps, spec, gloss, curvature and weathering, all of which are adjustable. Pretty trick.


44543217761_86e84fdb99_o.jpg
 
Last edited:
Back
Top