gaucho_59
Charter Member
Here is my take...
Gaucho,
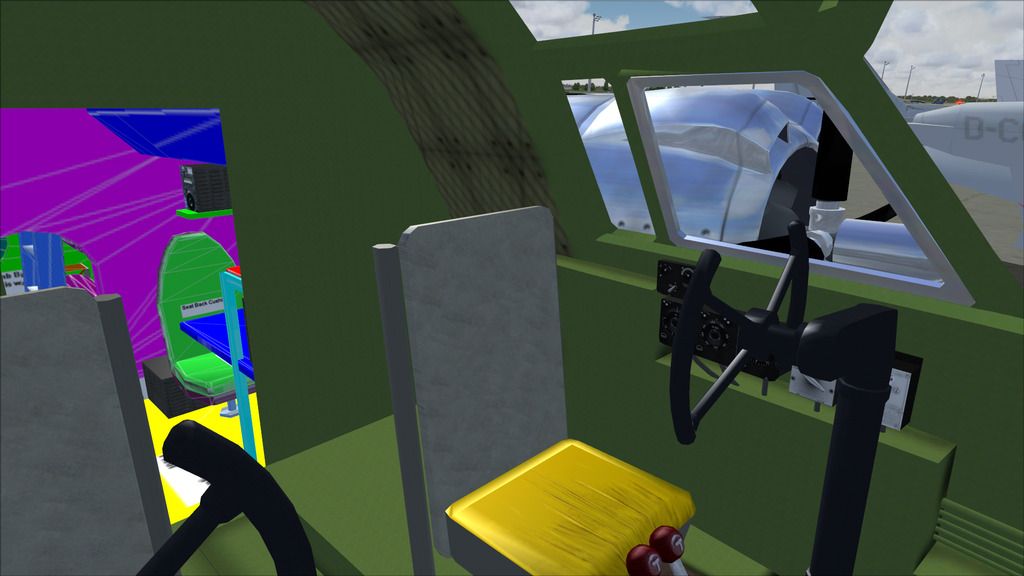
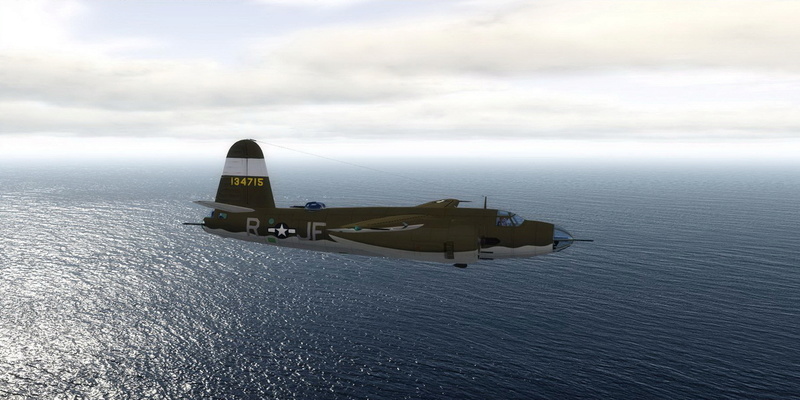
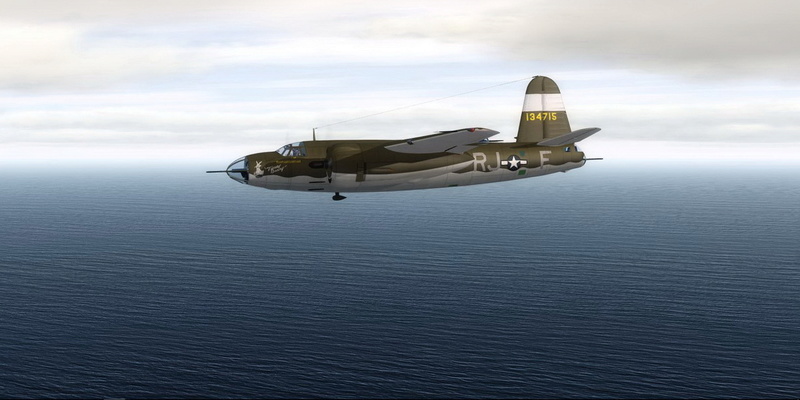
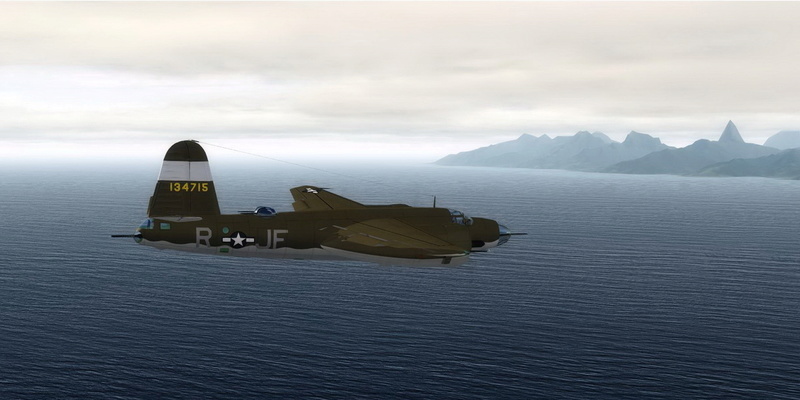
Here are some screen shots of the under-wing area you showed, here in FS9. I am not seeing the issues here as you described so I am perplexed.[/QUOTE
I painted the area marked as inside wall... in detail... if instead I had painted it a single color... the mismatch would not be seen...
However, if ribs and lightening wholes are painted in what is marked as the side wall area... then it shows...
in other words... the fact that the zinc chromate detailing with ribs and lightening holes are matched in the other engine... means the area for the side wall
in the mismatched engine needs to come down quite a bit... ergo: the two engine mappings are not exactly alike..... of course if a greater area is painted a flat color... it won't be noticed...
actually, in the right engine... I moved a bit at a time, until I got it to almost match the edge of the door...
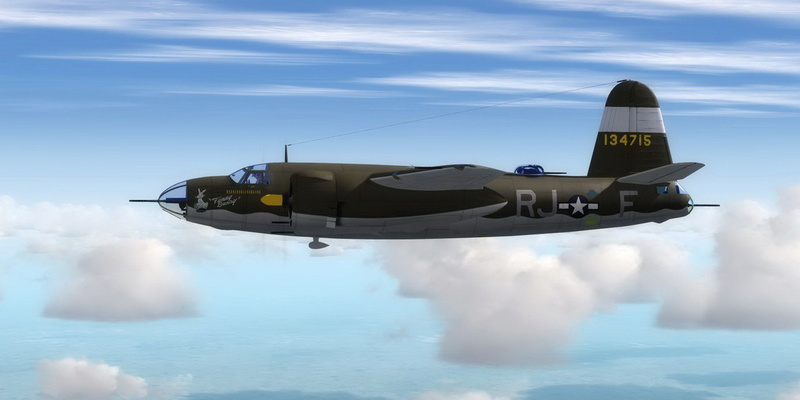
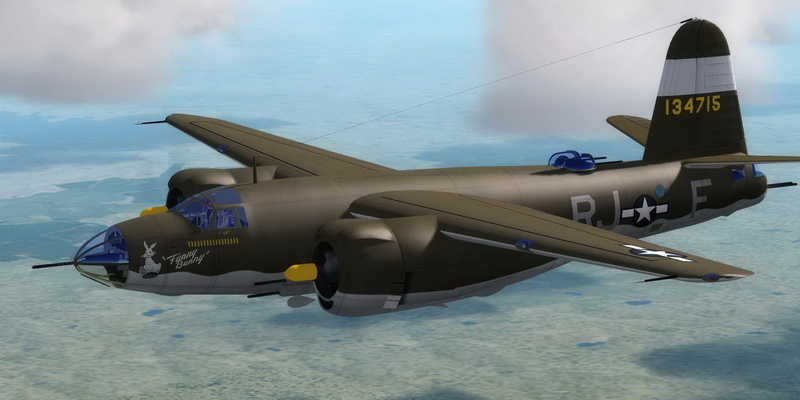
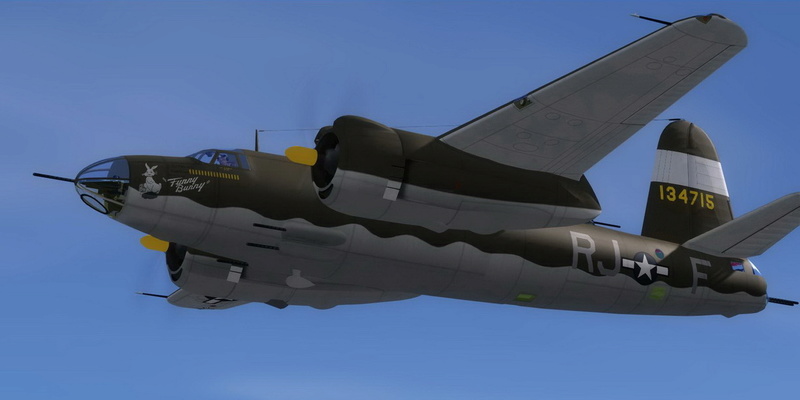
the same applies to all the other marked areas...in the exterior view.... but there.. it is solved easily by painting beyond the limits of the marked texture contours...
otherwise... the juncture of the different textures shows a gap... in the wings... there are some mismatches too... but they are easily covered by painting beyond the limits...
notice the black areas on the oil coolers.. in one engine... it means the marked area is a bit off to one side... if you paint just that area... the black shows... easy to solve...
I am not familiar with the technique used to place the different parts of a texture in the mapping of specific areas.. so I can't figure what makes them be in the wrong place...
When I get those little glitches solved... I will make the corrected textures available...
Thanks for the searching...
G.

")
 That is a very nice rendition; well done Sir!